Invoicing and Payment Collection
Invoicing in Eneris allows you to create professional invoices for your inspection services directly from within an Inspection. Combined with Pricing Items, you can build a reusable library of your common services and fees, making invoice creation fast and consistent. With Payment Collection, you can also get paid without leaving Eneris: take a card payment on the spot or email your client a payable invoice.
The invoicing workflow is simple:
- Set up your Pricing Items once (your service catalog)
- Create an Invoice from any inspection
- Add line items from your pricing library or create custom items
- Share the invoice via email or download as PDF
- Collect payment online, or record a payment you received another way
Pricing Items are reusable across all your invoices. Set them up once and add them to any invoice with a single click.
Pricing Items
What are Pricing Items?
Pricing Items are reusable service entries that you can quickly add to invoices. Each pricing item includes:
- Name — A description of the service (e.g., "Home Inspection - Standard")
- Price per unit — The price per unit
- Tax Rate — The applicable tax percentage
By maintaining a library of pricing items, you ensure consistent pricing across all your invoices and save time during invoice creation.
View Pricing Items
To view your existing Pricing Items:
- Select
Invoicingfrom the navigation menu.
You will see a list of all your saved pricing items with their names and prices.
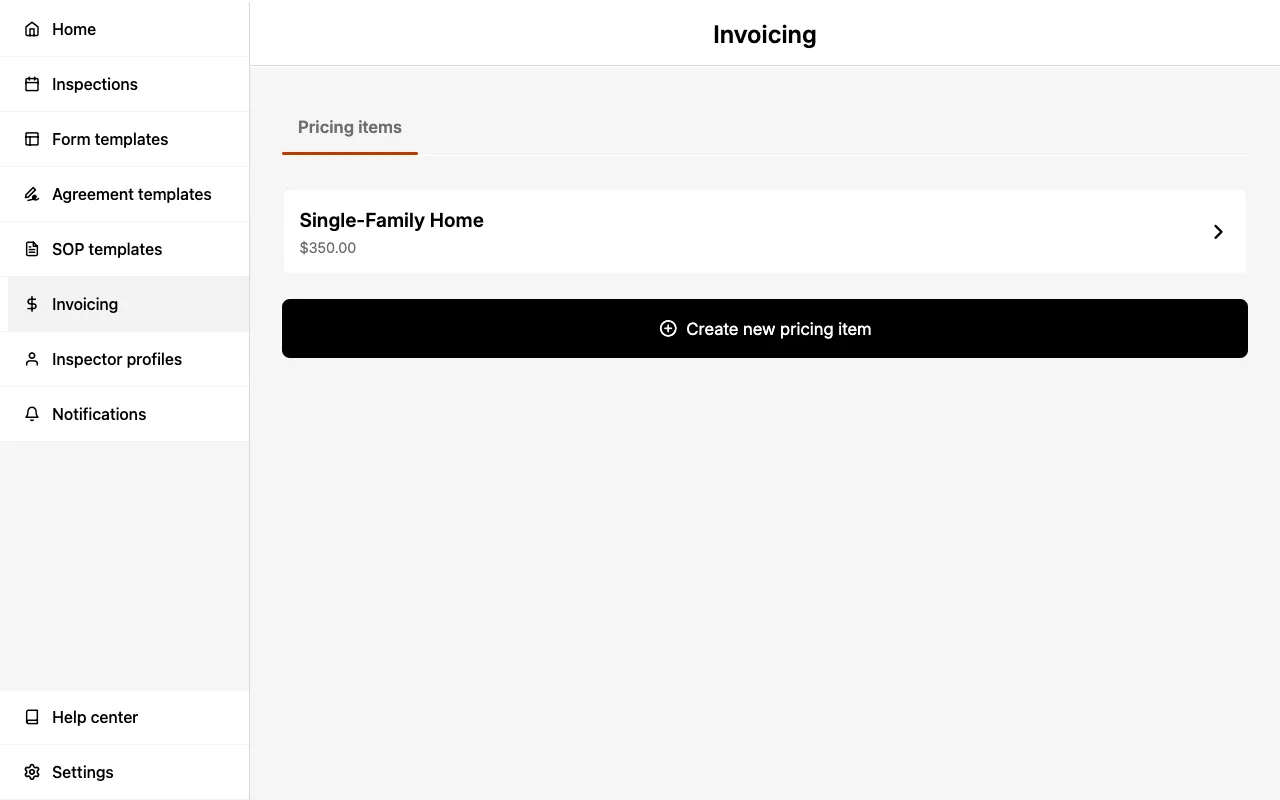
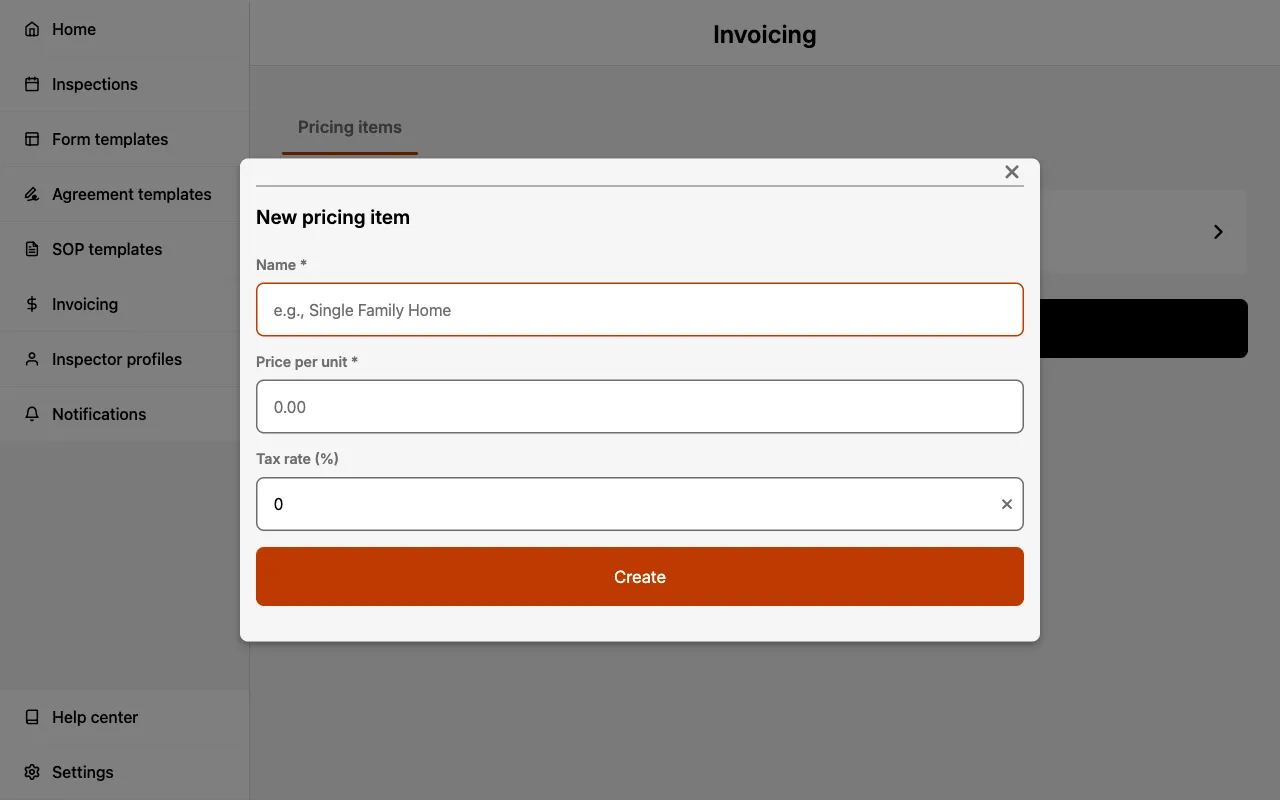
Create a Pricing Item
To create a new Pricing Item:
- Select
Invoicingfrom the navigation menu. - Select
Create new pricing item. - Enter a Name for the item (e.g., "Radon Testing").
- Enter the Price per unit.
- Optionally, set a Tax rate percentage.
- Select
Create.
Create pricing items for all your common services before you start invoicing. This makes creating invoices much faster.
Edit a Pricing Item
To modify an existing Pricing Item:
- Select
Invoicingfrom the navigation menu. - Select the item you wish to edit.
- Update the Name, Price per unit, and/or Tax rate as needed.
- Select
Save changes.
Changes to a Pricing Item only affect new invoices. Existing invoices retain the pricing that was set when they were created.
Delete a Pricing Item
To delete a Pricing Item:
- Select
Invoicingfrom the navigation menu. - Select the item you wish to delete.
- Scroll to the bottom and select
Delete pricing item. - Confirm the deletion when prompted.
Deleting a Pricing Item cannot be undone. Existing invoices using this item will retain their line item data.
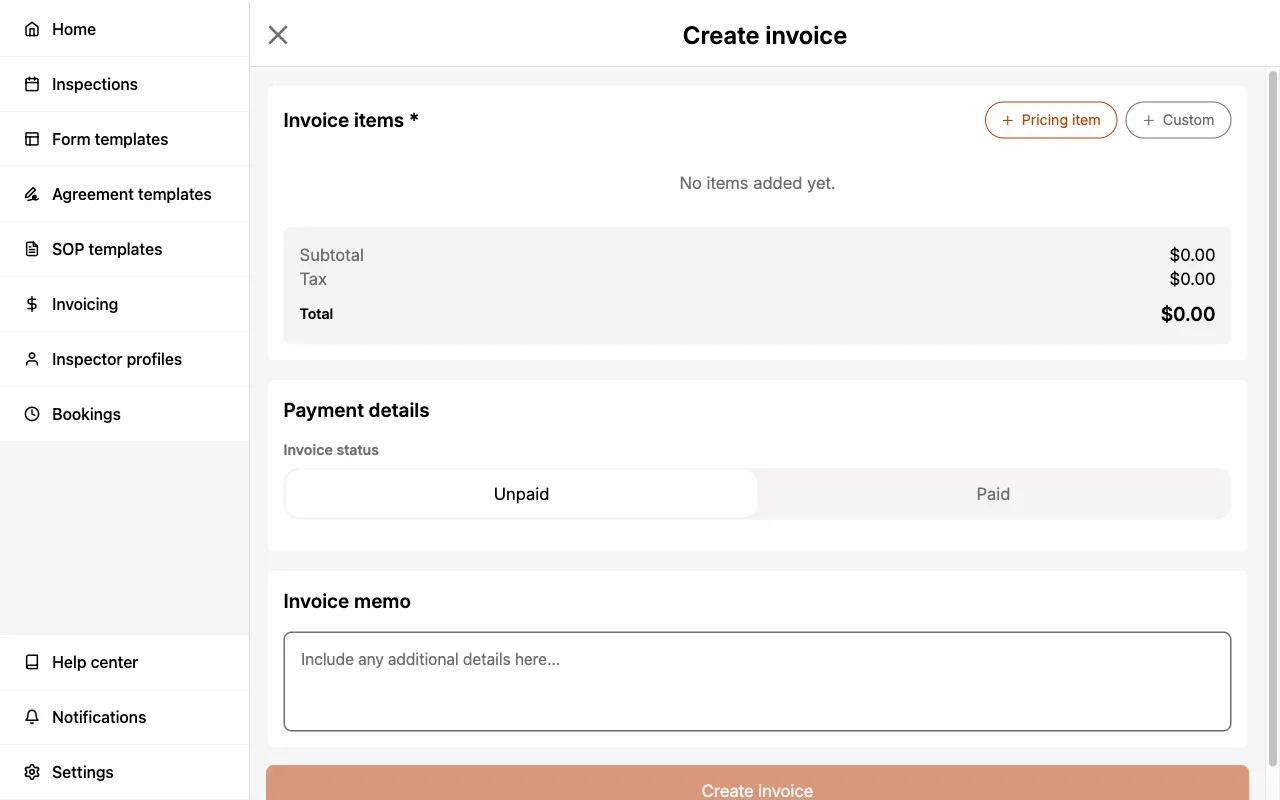
Creating an Invoice
Create Invoice from Inspection
Invoices are created within an Inspection. To create an invoice:
- Open the Inspection you want to invoice.
- Select the Invoice section.
- Add line items.
- Optionally, add a Memo for additional notes.
- Select
Create invoice.
The system automatically generates an invoice number in the format INV-YYYY-NNNNN (e.g., INV-2026-00001).
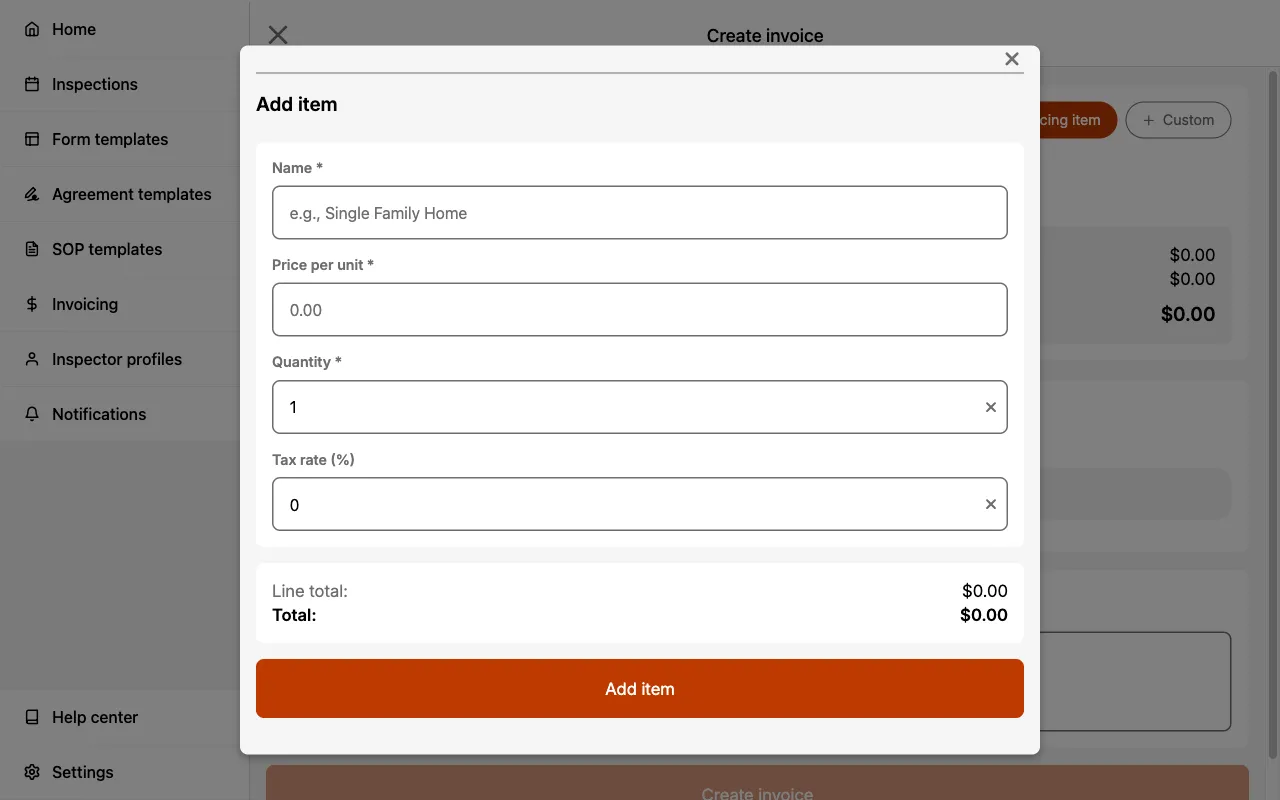
Adding Line Items
You can add line items to your invoice in two ways:
From Pricing Library:
- Select
+ Pricing item. - Choose one or more items from your pricing library.
- Adjust the quantity if needed.
Custom Item:
- Select
+ Custom. - Enter the item Name.
- Enter the Price per unit.
- Set the Quantity.
- Optionally, set a Tax rate.
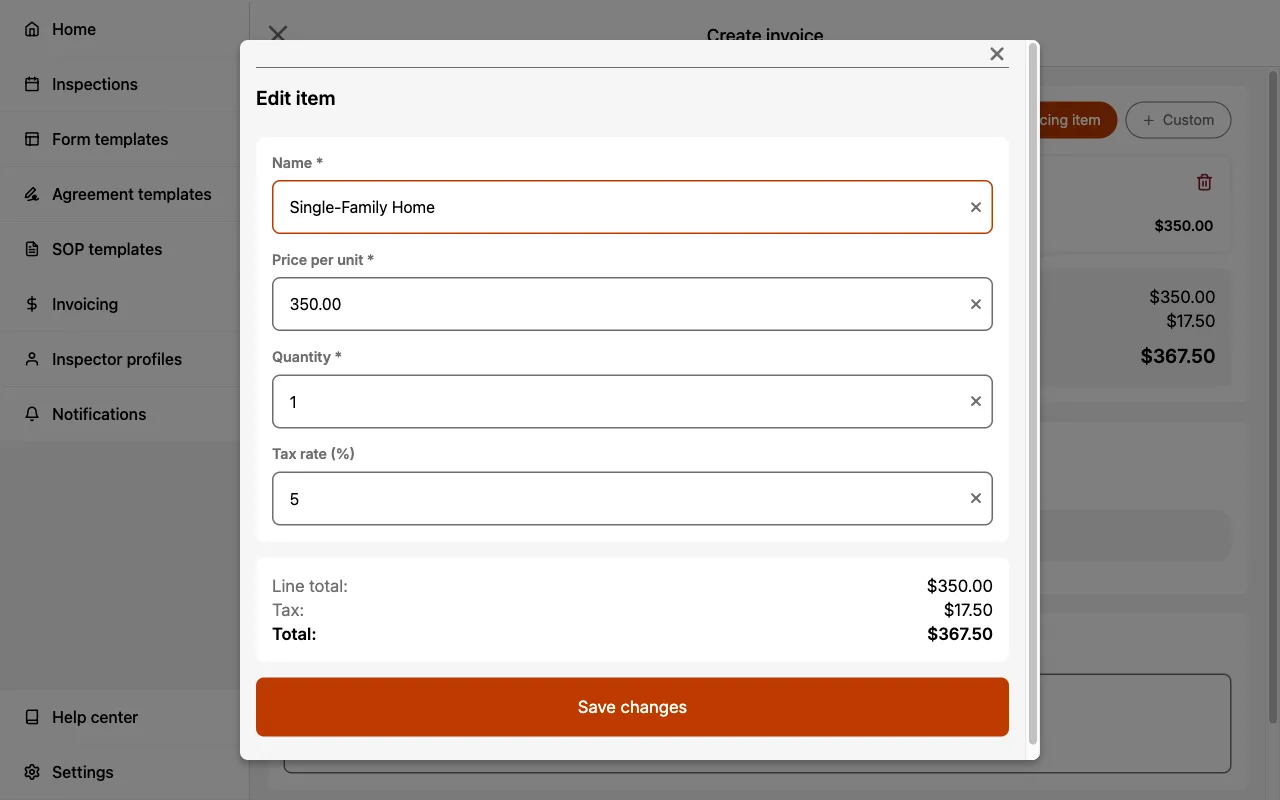
Adjusting Pricing Item Quantity
When creating an Inspection invoice you can update the quantity of a line item. To update the quantity:
- Select the pricing item you added.
- Update the
Quantity. - Select
Save changes.
Automatic Calculations
Eneris automatically calculates all invoice totals:
- Line Total — Price per unit × quantity for each item
- Line Tax — Line total × tax rate for each item
- Subtotal — Sum of all line totals
- Tax — Sum of all line taxes
- Total — Subtotal + tax total
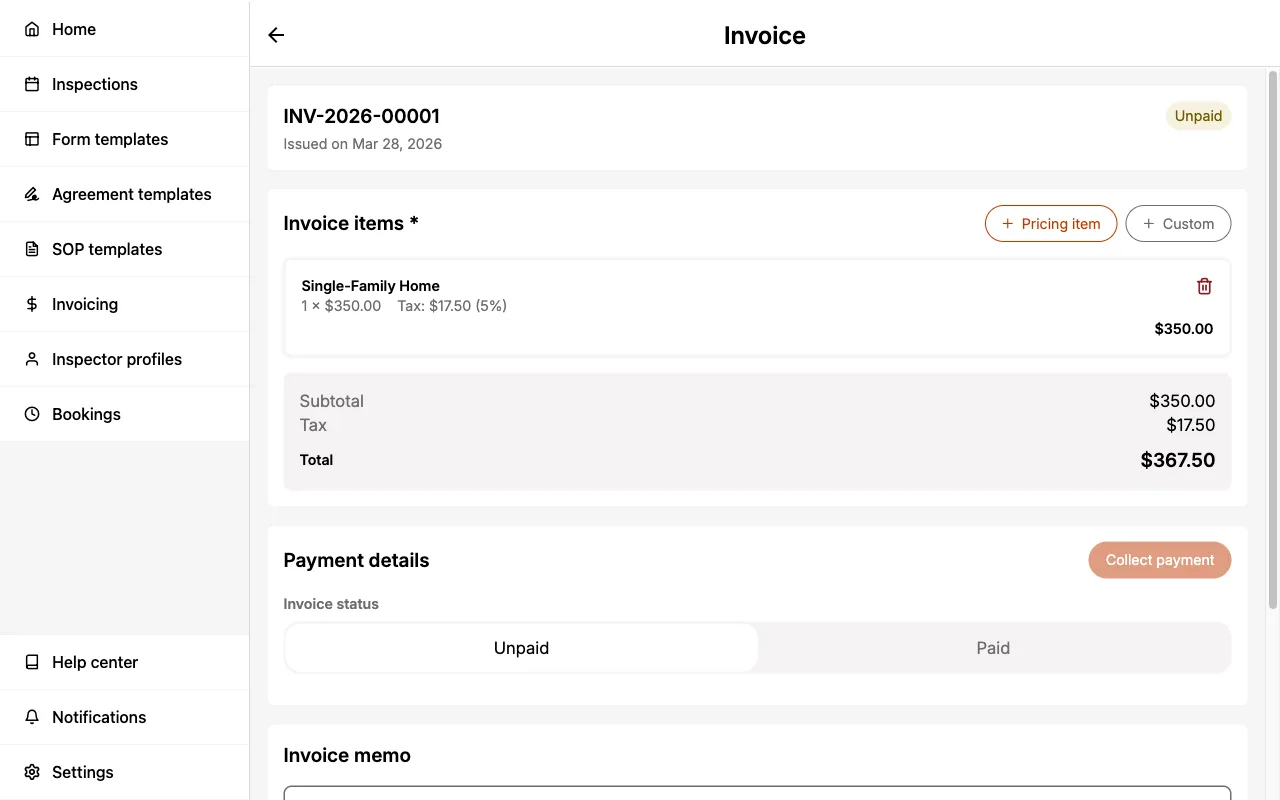
All calculations update in real-time as you add or modify line items.
Payment Tracking
Invoice Status
Each invoice has a payment status:
- Unpaid — Invoice has been created but payment has not been recorded
- Paid — Payment has been recorded for this invoice
The status is displayed as a badge on the invoice, making it easy to track outstanding payments.
When a client pays online through Payment Collection, the invoice is marked Paid automatically. You only need to record a payment manually when it was received outside Eneris (e.g., cash or check).
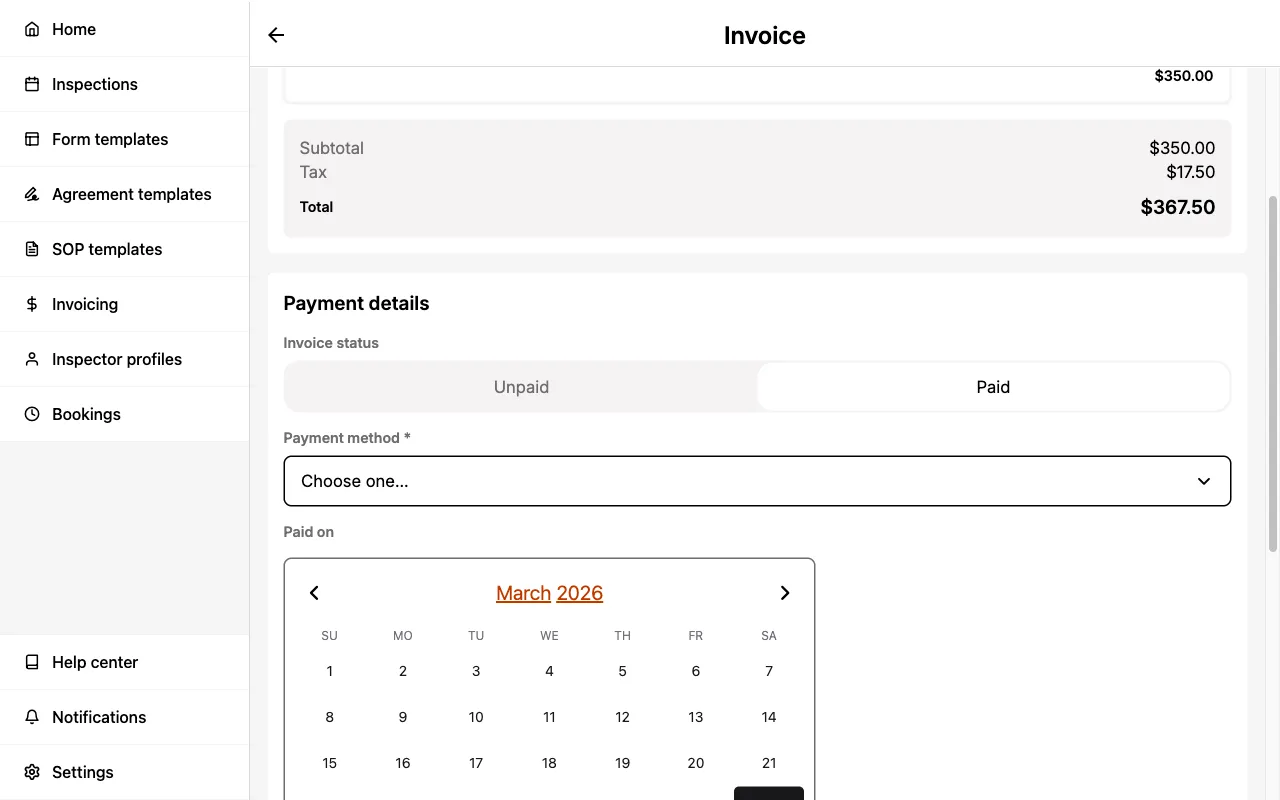
Recording Payment
To manually record a payment on an invoice:
- Open the invoice.
- Change the Invoice Status to Paid.
- Select a Payment Method:
- Cash
- Check
- Debit Card
- Credit Card
- Bank Transfer
- Peer-to-Peer
- Other (enter a custom description)
- Set the Paid Date.
- Select
Save changes.
Payment Collection
Payment Collection lets you collect invoice payments directly through Eneris, powered by Stripe. Once your payment account is set up, you can take a card payment on the spot or email your client a payable invoice, and Eneris updates the invoice automatically when the payment comes through.
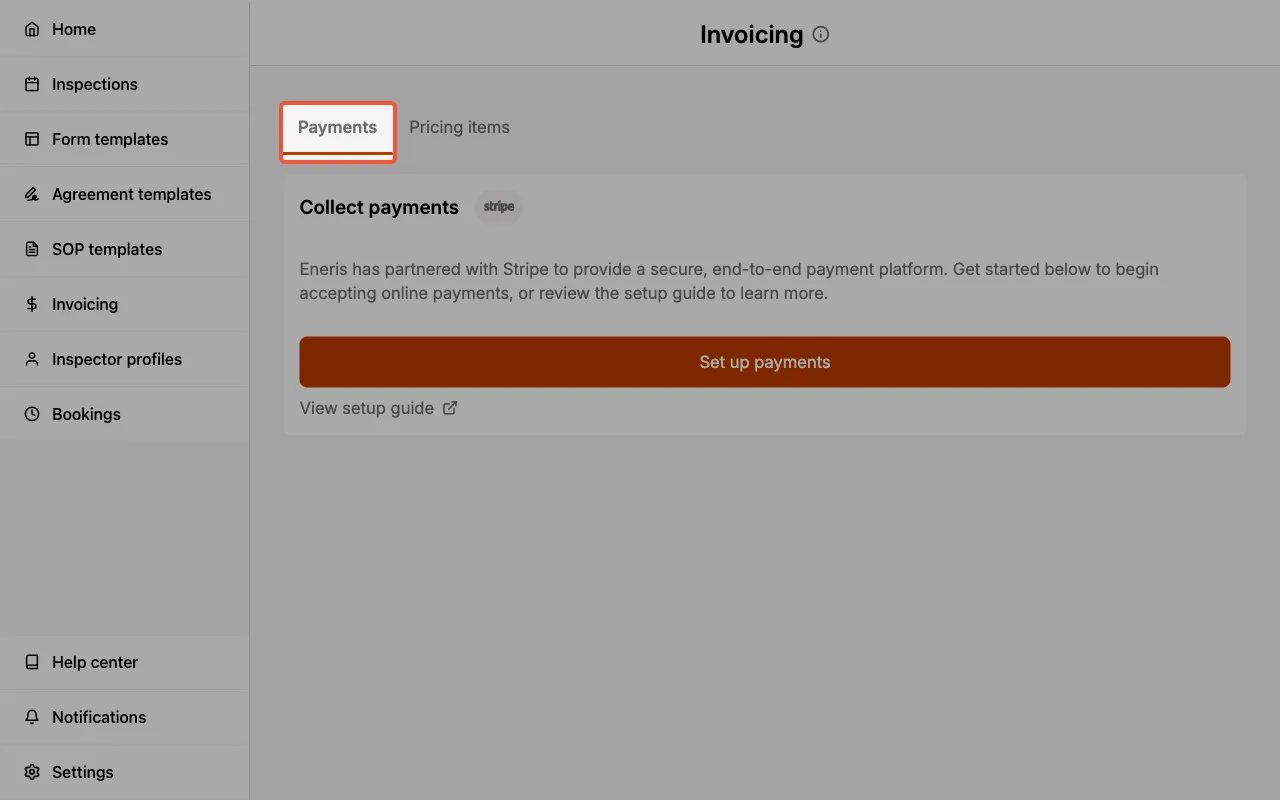
Set Up Your Payment Account
Before you can collect payments, you must first set up a payment account:
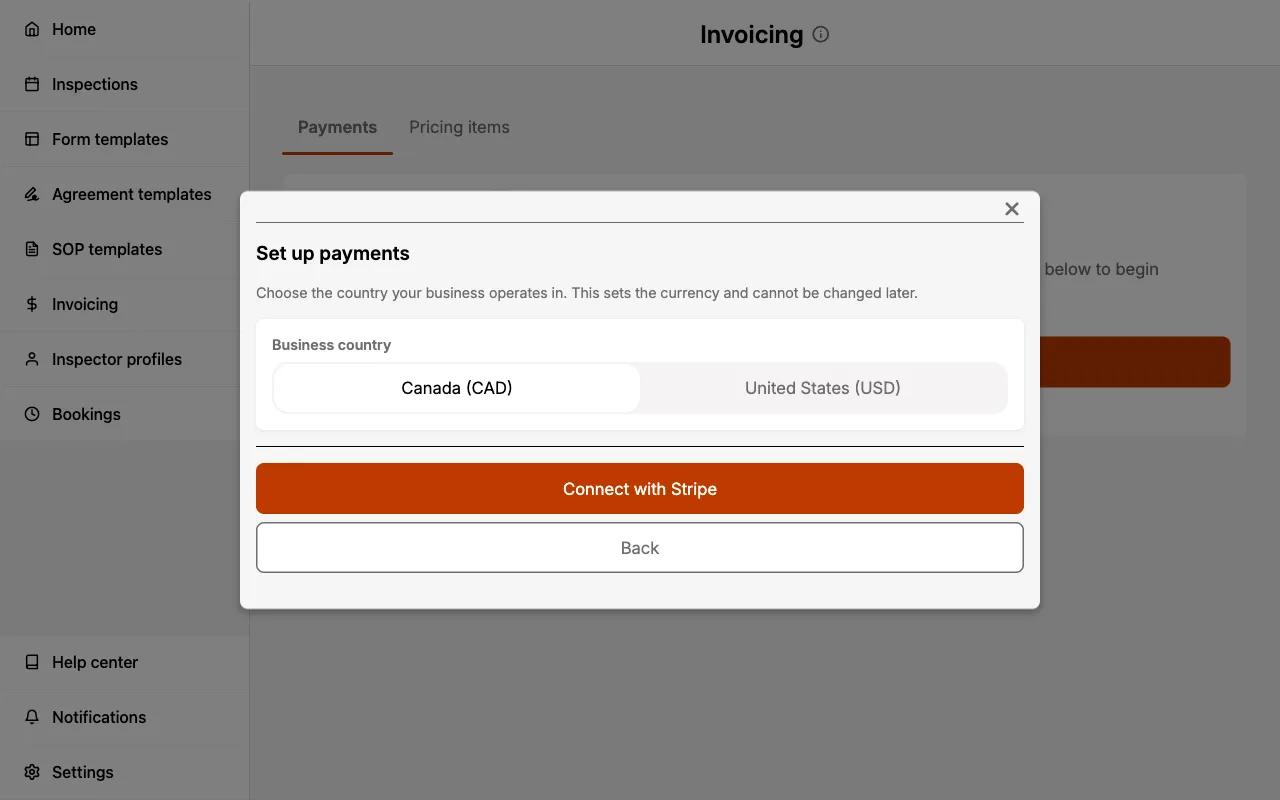
- Select
Invoicingfrom the navigation menu. - Select the Payments tab.
- Select
Set up payments.
- Select your Business country (Canada or United States) and select
Connect with Stripe.
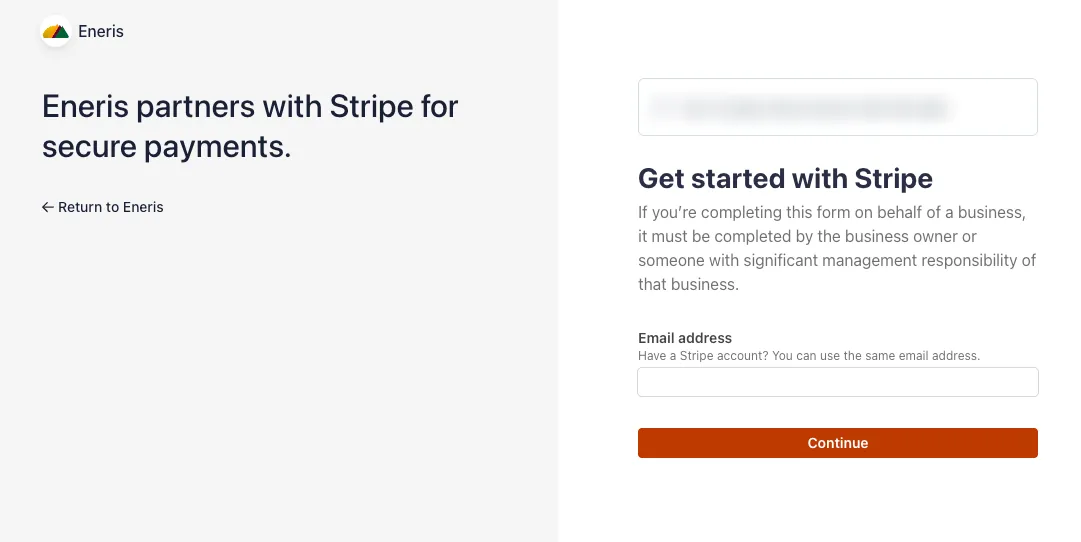
- You will be redirected to Stripe to complete onboarding. Start by entering the email address associated with your business. It is important to have any applicable business tax IDs and banking information for payouts ready to ensure a successful setup.
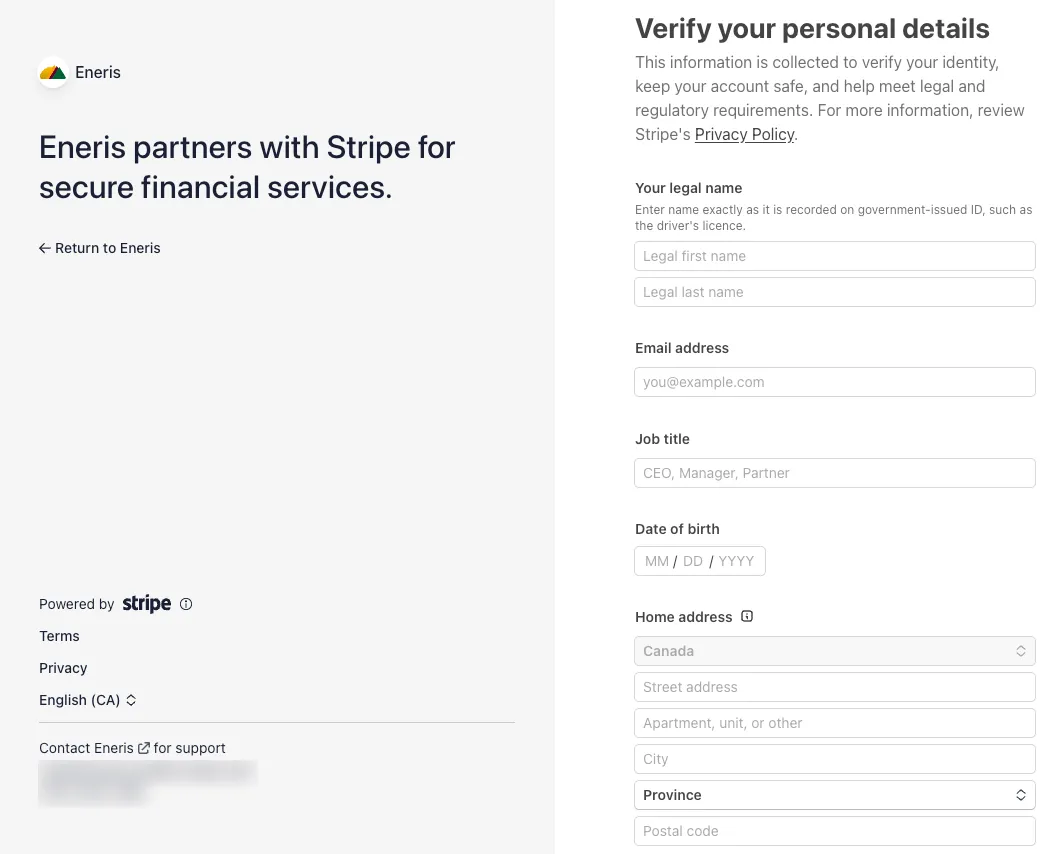
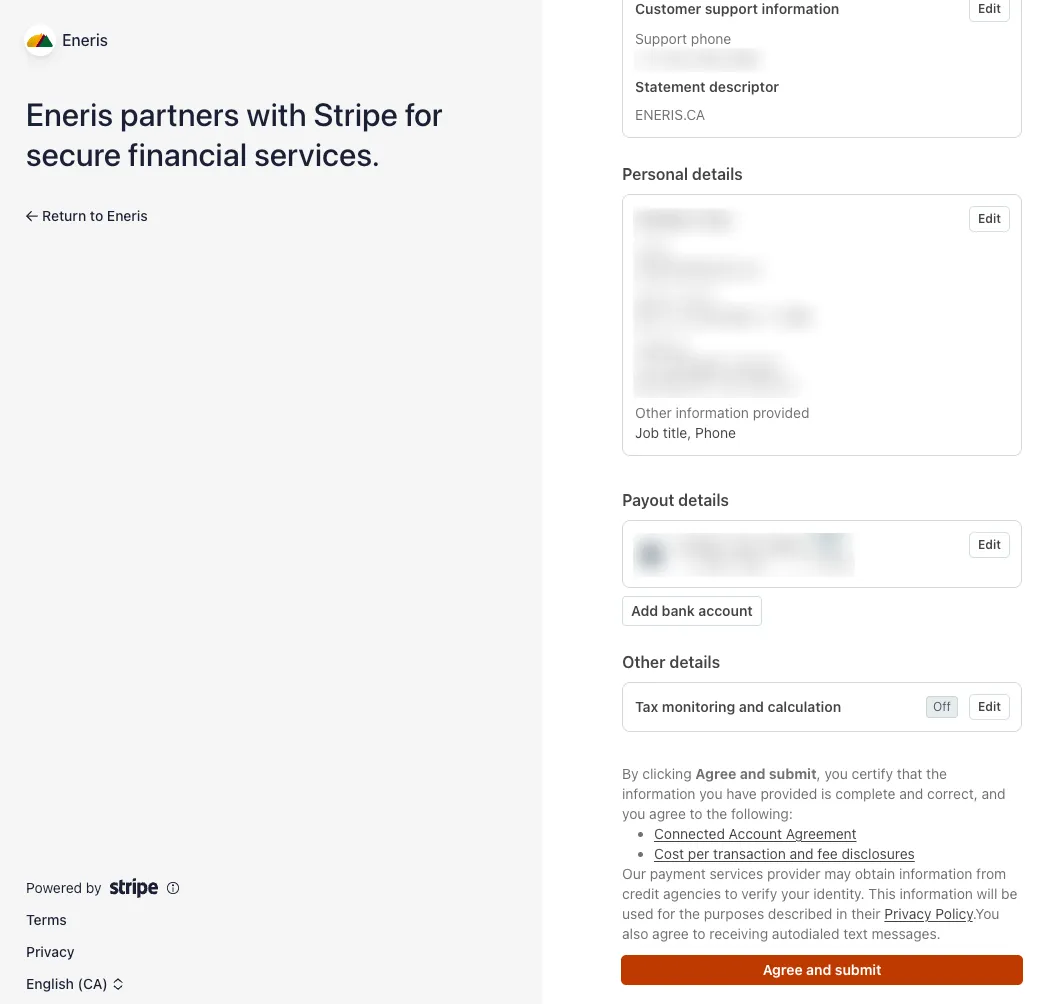
- Verify your personal details: your legal name, email, job title, date of birth, and home address.
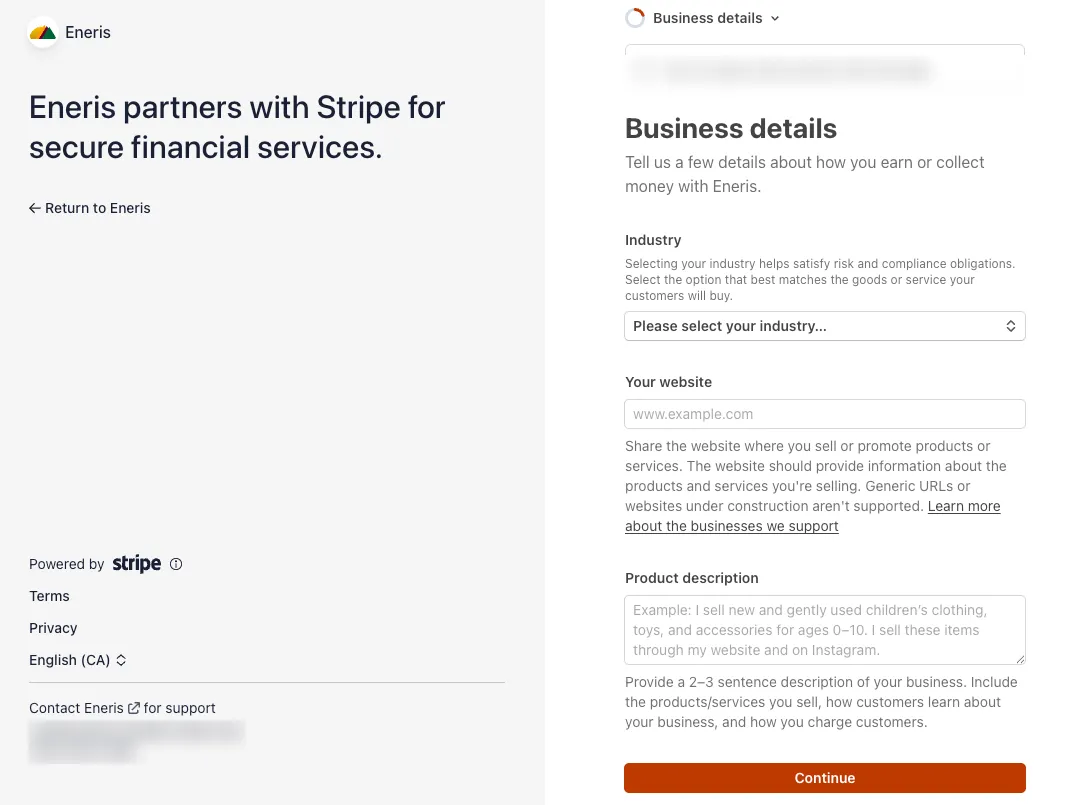
- Tell Stripe about your business: select your industry, then add your website and a short description of your services.
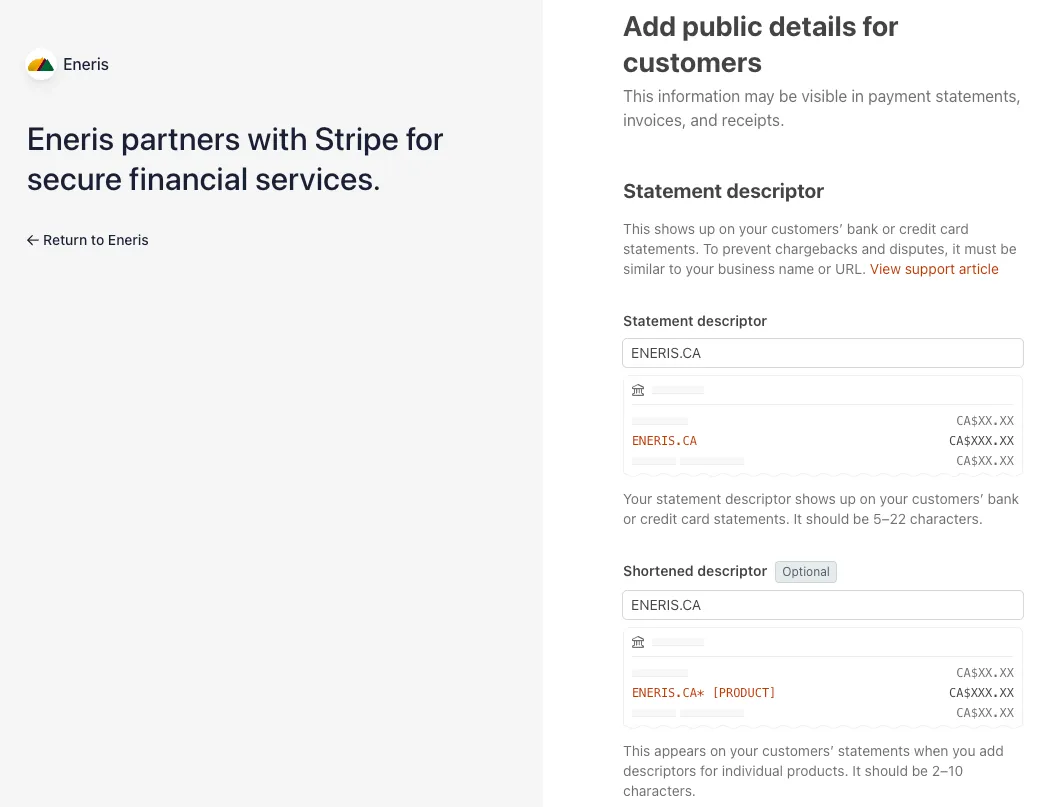
- Add the public details your customers will see: the statement descriptor shown on their credit card statements and your business support phone number.
- Choose whether to opt in to Stripe Tax. Stripe Tax monitors your tax registration thresholds and can automatically calculate and collect tax on your payments. Stripe charges an additional fee for this once tax is calculated on your transactions.
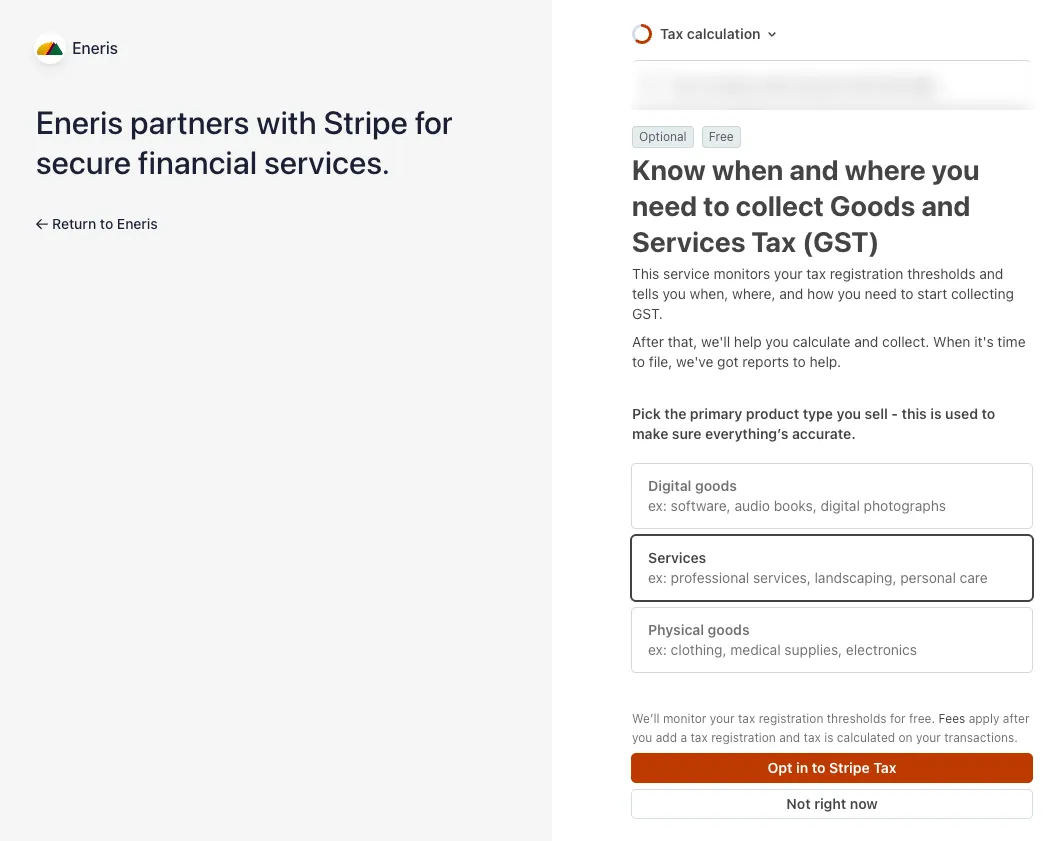
If you opt in to Stripe Tax, set the tax rate on all of your Pricing Items to 0. Eneris already adds the tax from your pricing items to the payment total, so leaving both enabled would collect tax twice.
- Review your details and make any last-minute changes, then select
Agree and submit. Stripe will provide warnings for fields that were missed or require more information.
Once onboarding is complete, your account shows as Active and you can start collecting payments. If you leave onboarding partway through, return to the Payments tab and select Continue onboarding to pick up where you left off.
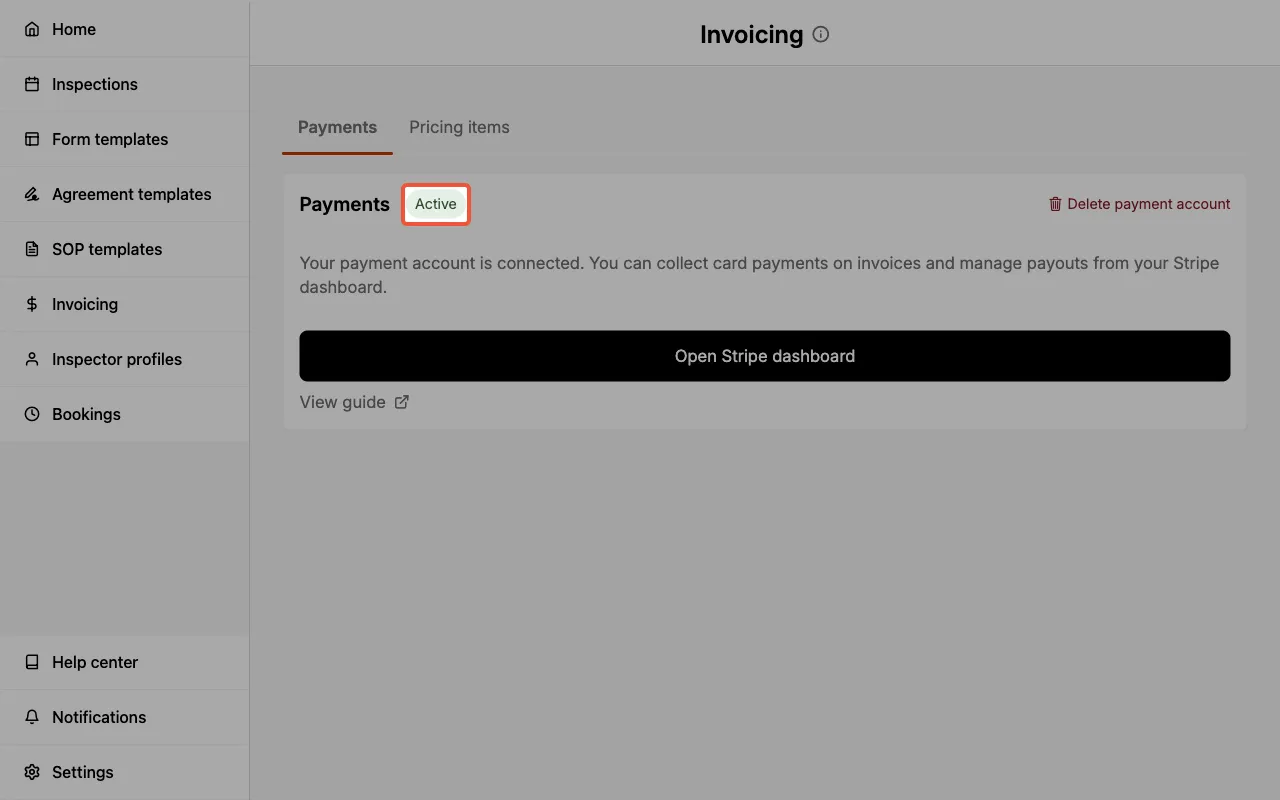
From the Payments tab you can also:
- Open Stripe dashboard: view payouts, transactions, and account details in Stripe. From there you can also customize the branding shown on your payable invoices under Settings → Business → Branding.
- Delete payment account: permanently unlink your team's payment account.
Only team members with the Admin role can set up or delete the payment account. See Multi-Inspector permissions for details.
Your business country (and its currency) is set once during setup and cannot be changed afterwards. Deleting a payment account cannot be undone; you will need to complete setup again before collecting payments.
Take Payment Now
To take a card payment on the spot:
- Open the Inspection's invoice.
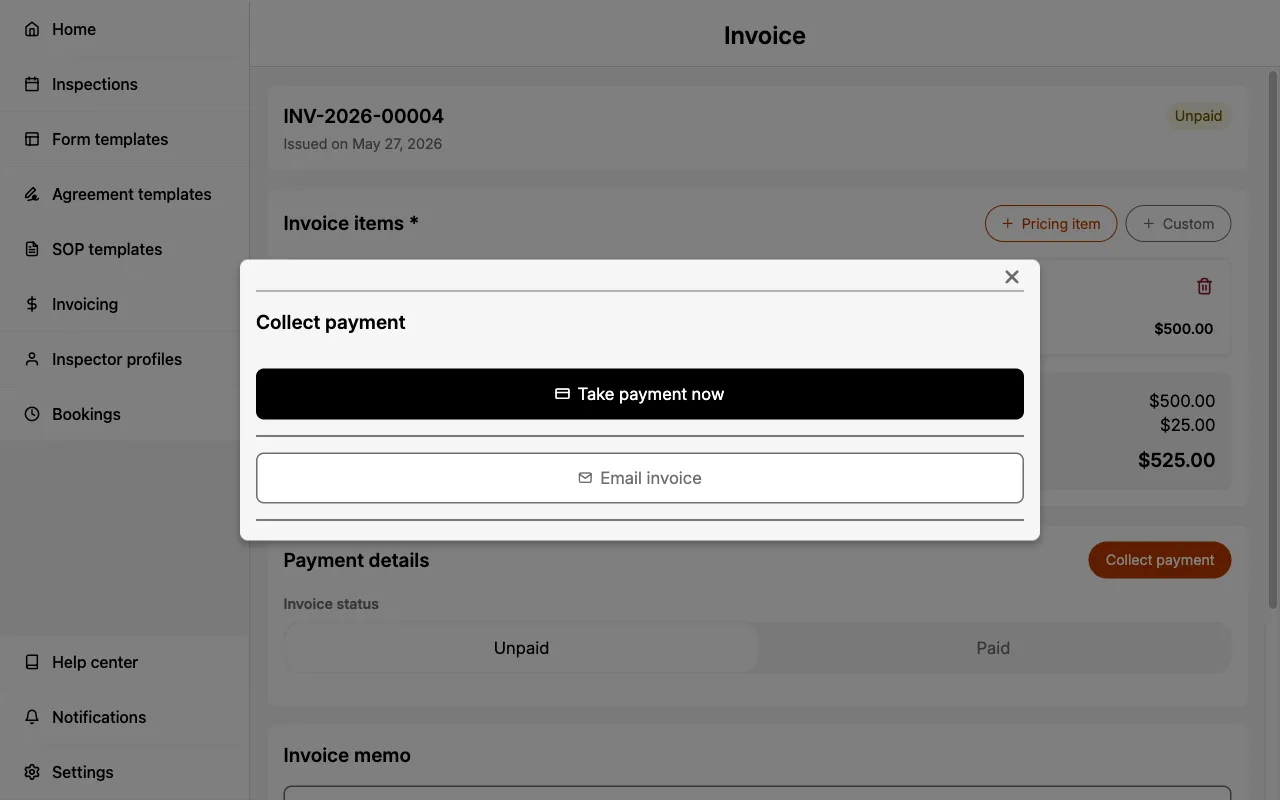
- Select
Collect paymentin the Payment details section.
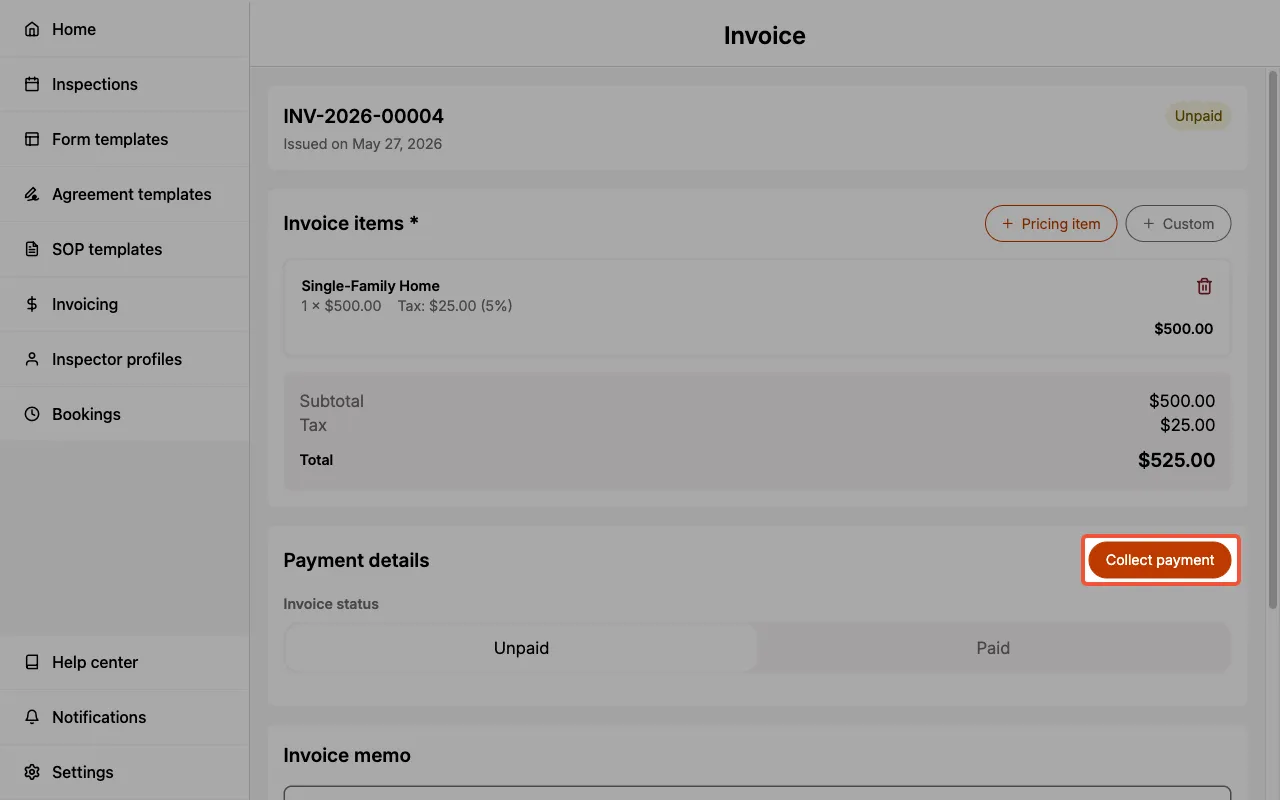
- Select
Take payment now.
- Have your client complete the card payment in the secure Stripe checkout. The checkout shows your invoice line items and total, and accepts cards as well as wallets like Apple Pay.
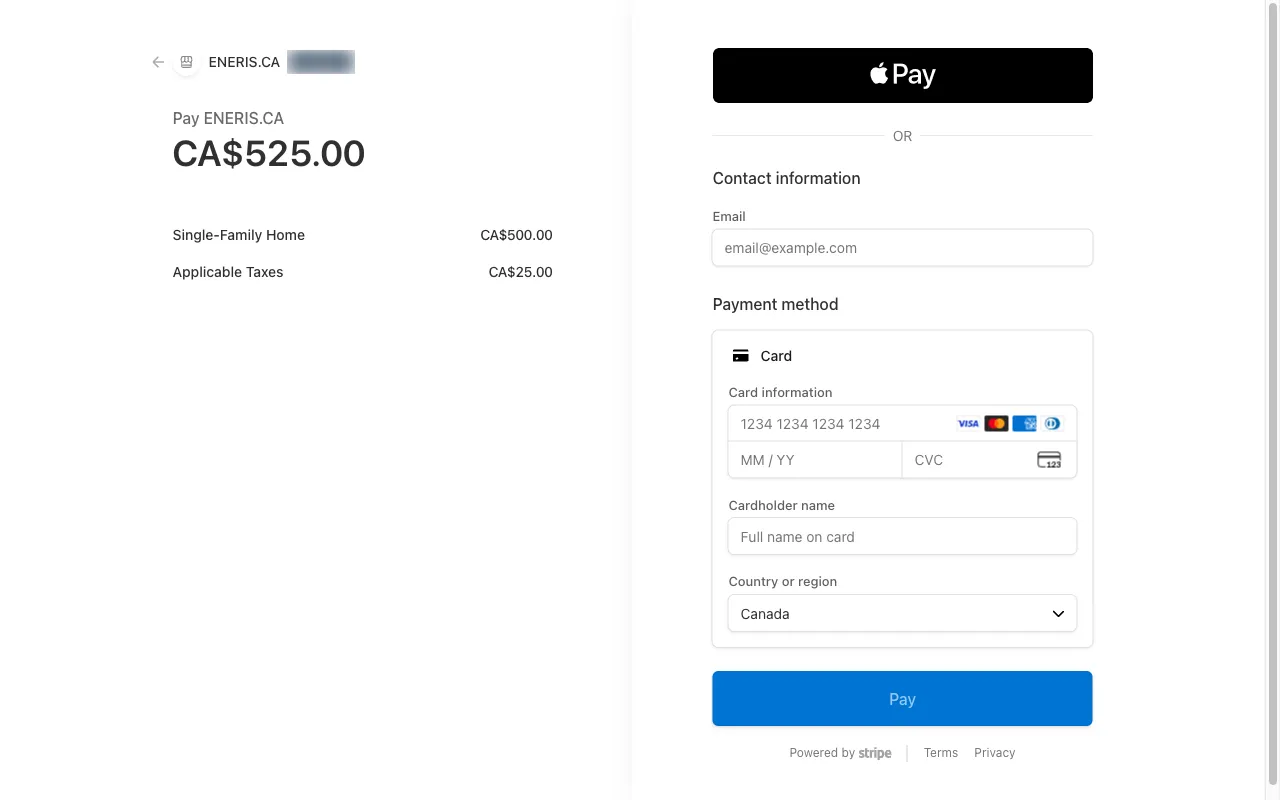
Once the payment is processed, the invoice is automatically marked as Paid.
Email a Payable Invoice
To collect payment by email:
- Open the Inspection's invoice.
- Select
Collect paymentin the Payment details section. - Select
Email invoice. - Enter your client's email address.
- Select
Send payable invoice.
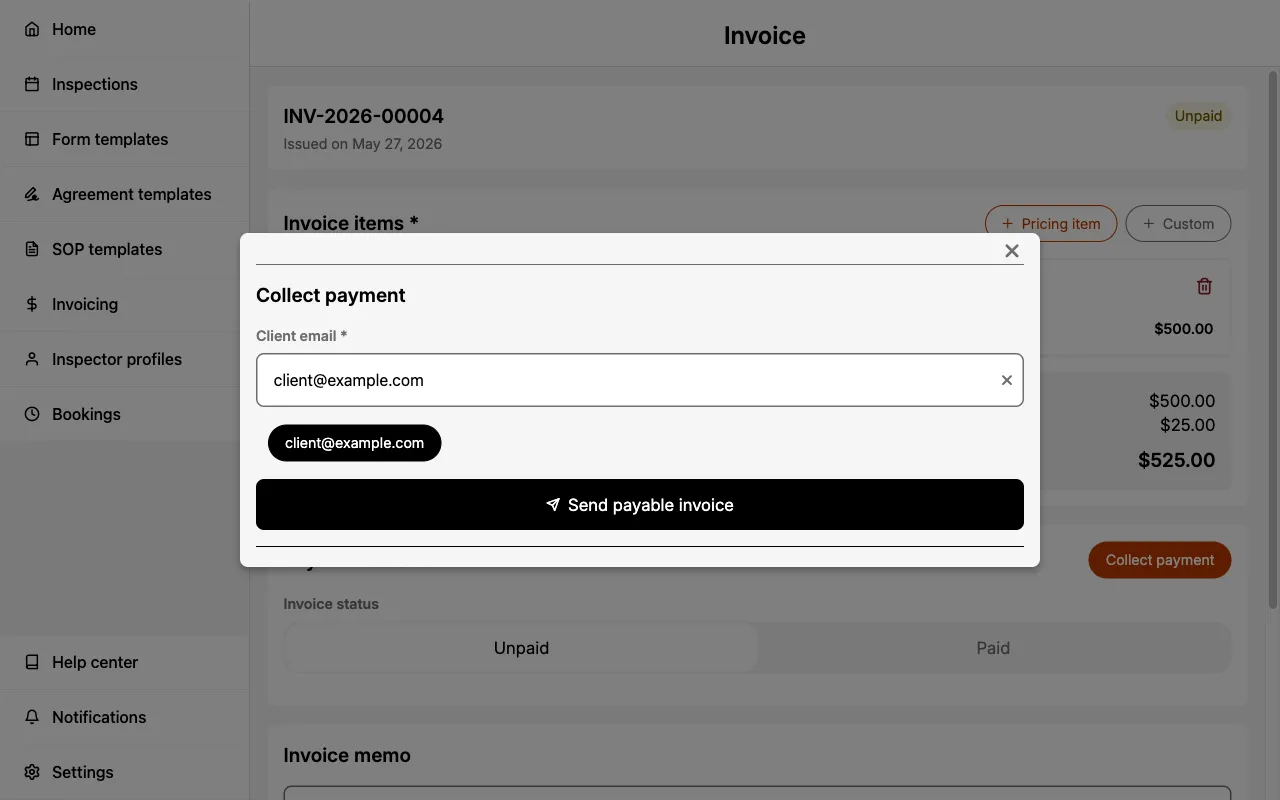
Your client receives a Stripe-hosted invoice they can pay online, with payment due in 1 day. The invoice's payment status changes to Payment sent, and the invoice is marked Paid automatically once your client pays.
To email the invoice as a PDF without collecting payment online, use Share via Email instead.
Payment Statuses
Invoices collected through Payment Collection show a payment status badge alongside the invoice status:
- Payment sent: a payable invoice has been emailed to your client.
- Payment refunded: the payment was refunded.
- Payment voided: the payable invoice was voided.
- Payment failed: the payment attempt failed.
When the payment is completed, the payment badge is replaced by the invoice status changing to Paid.
These statuses are updated automatically from Stripe. The manual Invoice Status (Payment Tracking) remains available for payments received outside Eneris.
Payment Collection Fees
Eneris does not charge any payment collection fees.
Stripe charges a payment collection fee of 2.9% + $0.30 per card transaction. If you opted in to Stripe Tax during setup, Stripe charges an additional fee once tax is calculated on your transactions.
- e.g., On a $500 payment, Stripe will charge ($500 × 2.9%) + $0.30 = $14.80.
- Learn more about Stripe's fees on their website.
Payment Deposit Times
The first deposit may take 8-10 days for funds to clear due to Stripe's automated fraud detection systems. After that, 2-3 days can be expected for most transactions (depending on your banking institution or whether it is a weekend or holiday).
Eneris never has access to your clients' credit card information. Card processing is handled entirely by Stripe, a Payment Card Industry (PCI) compliant transaction processor with enhanced security and fraud detection. If you need a more advanced accounting workflow, Stripe offers third-party integrations with various accounting software.
Invoice Actions
Download PDF
To download an invoice as a PDF:
- Navigate into the Inspection.
- Locate the Invoice section.
- Select the Download PDF button.
- Download the PDF on your device.
The PDF includes your business information, invoice details, line items with calculations, and any memo you added.
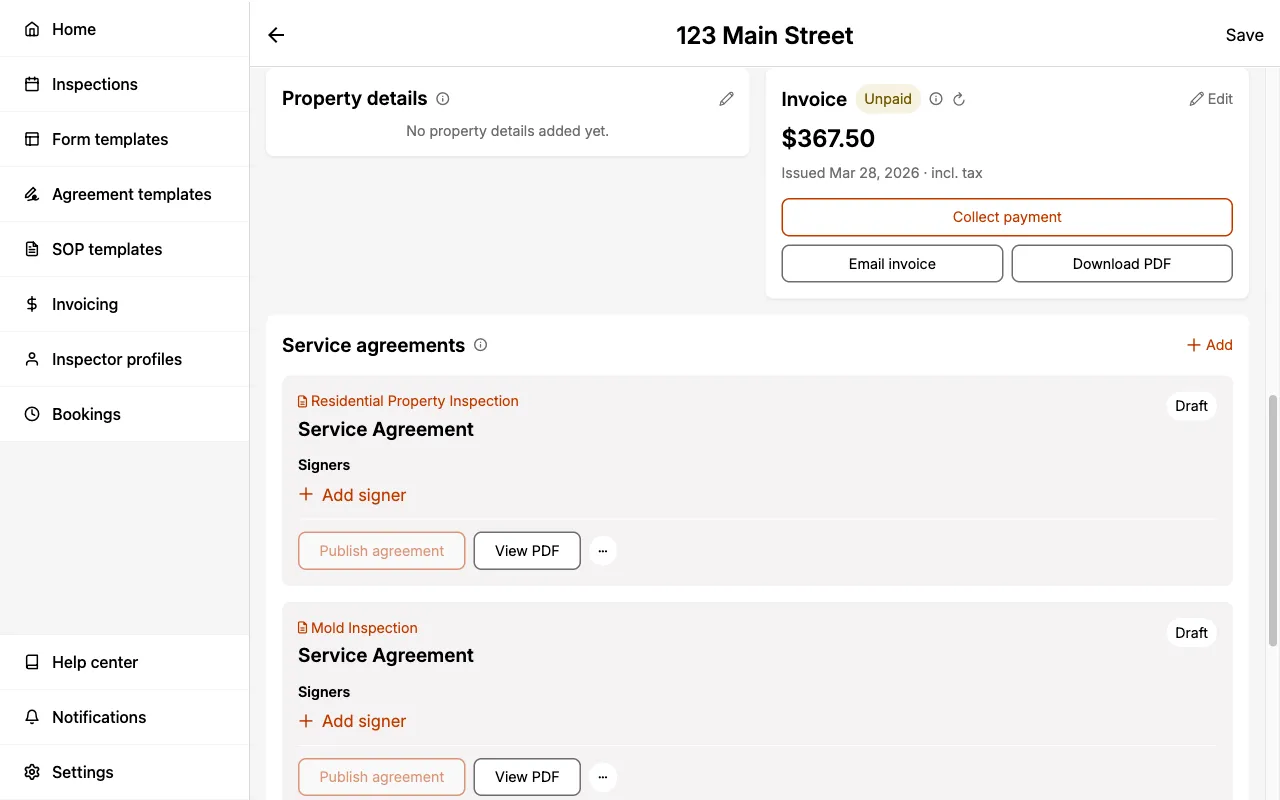
Share via Email
To share an invoice with your client via email:
- Navigate into the Inspection.
- Locate the Invoice section.
- Select the Email invoice button.
- The email recipients are auto-populated from the Inspection contacts.
- Optionally, select
Cc/Bccto add additional recipients. - Select
Send.
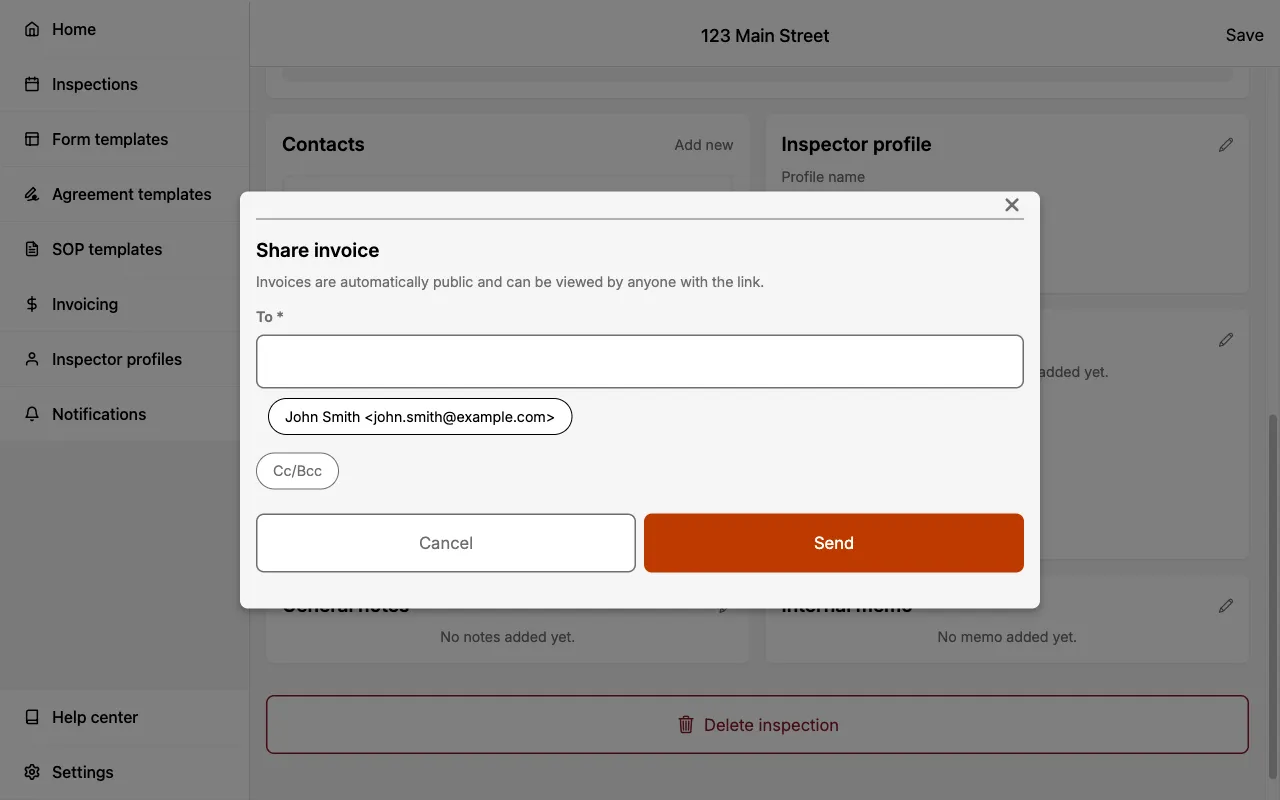
The email includes a link to view the invoice online, along with a PDF attachment.
To collect payment by email instead of just sharing the invoice, send a payable invoice. See Email a Payable Invoice.
Anyone with access to the public invoice link will be able to view the invoice. Only share invoice links with intended recipients.