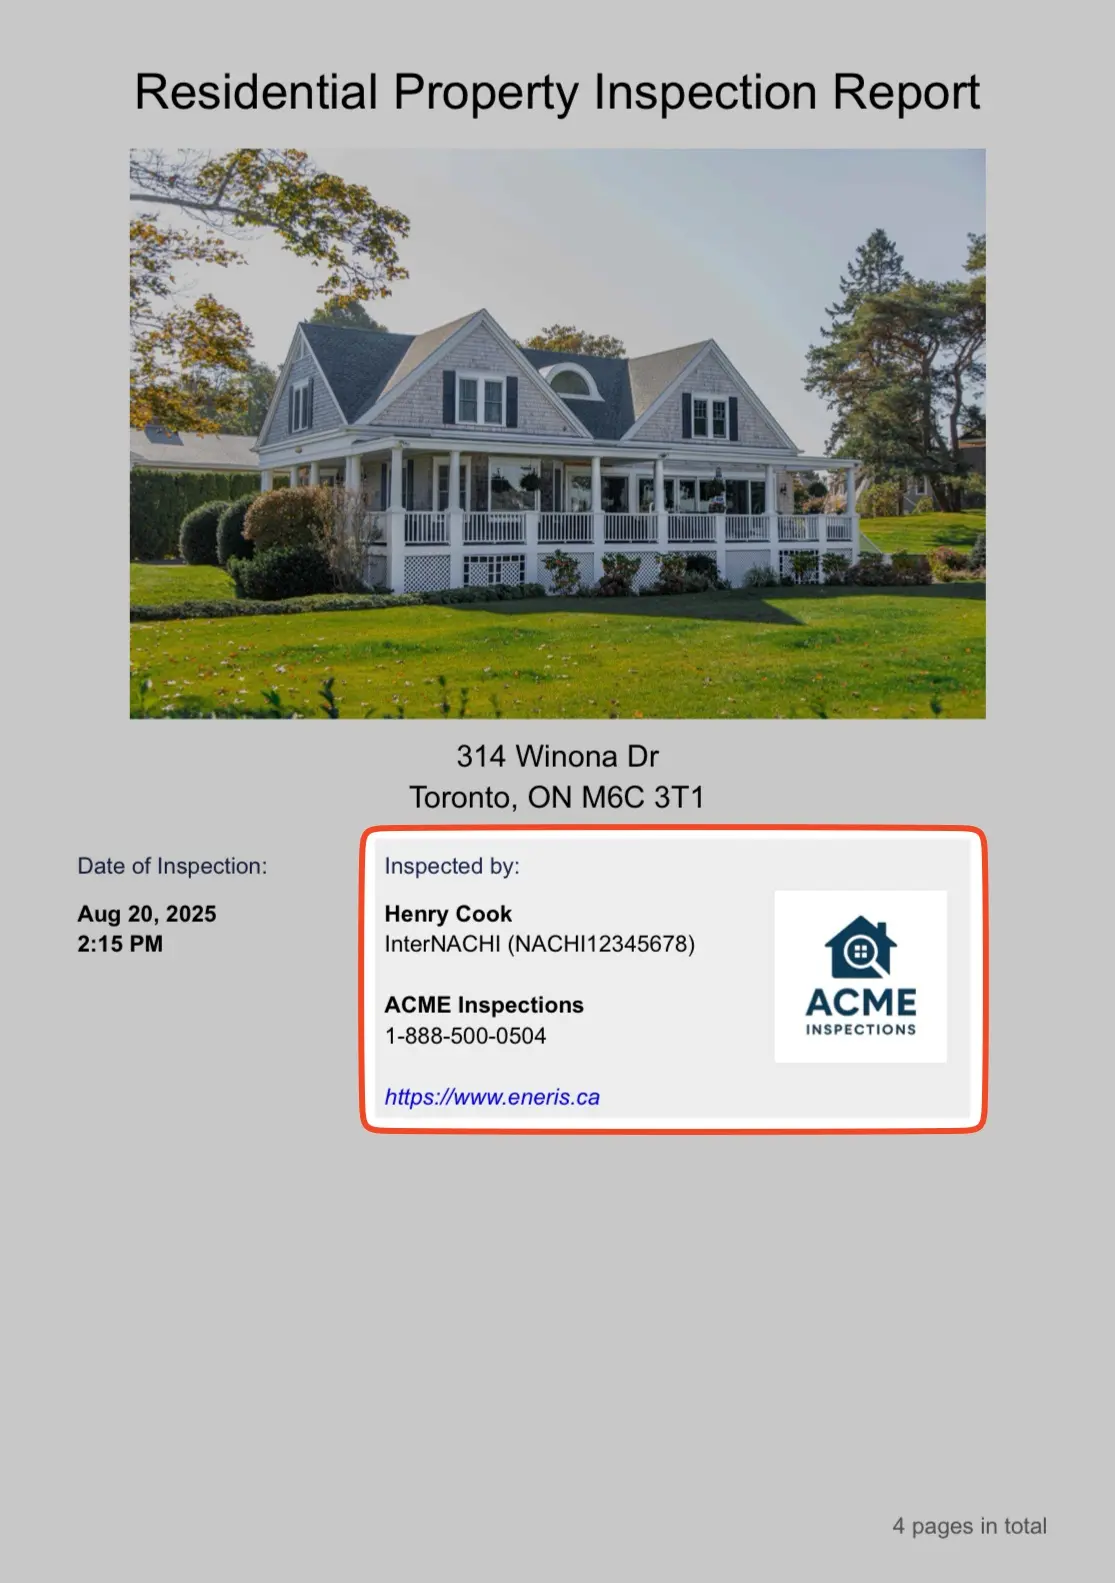
Inspector Profiles
Inspector Profiles let you associate specific business or certification information with an inspection. They're useful if:
- You own multiple businesses and want to brand each inspection accordingly.
- You hold multiple types of certifications or licenses and need to display the correct details on the report.
You can create as many profiles needed and then choose the one that best fits each inspection.
Creating an Inspector Profile
To create a new Inspector Profile:
-
Navigate to the home page
-
Select
Inspector profiles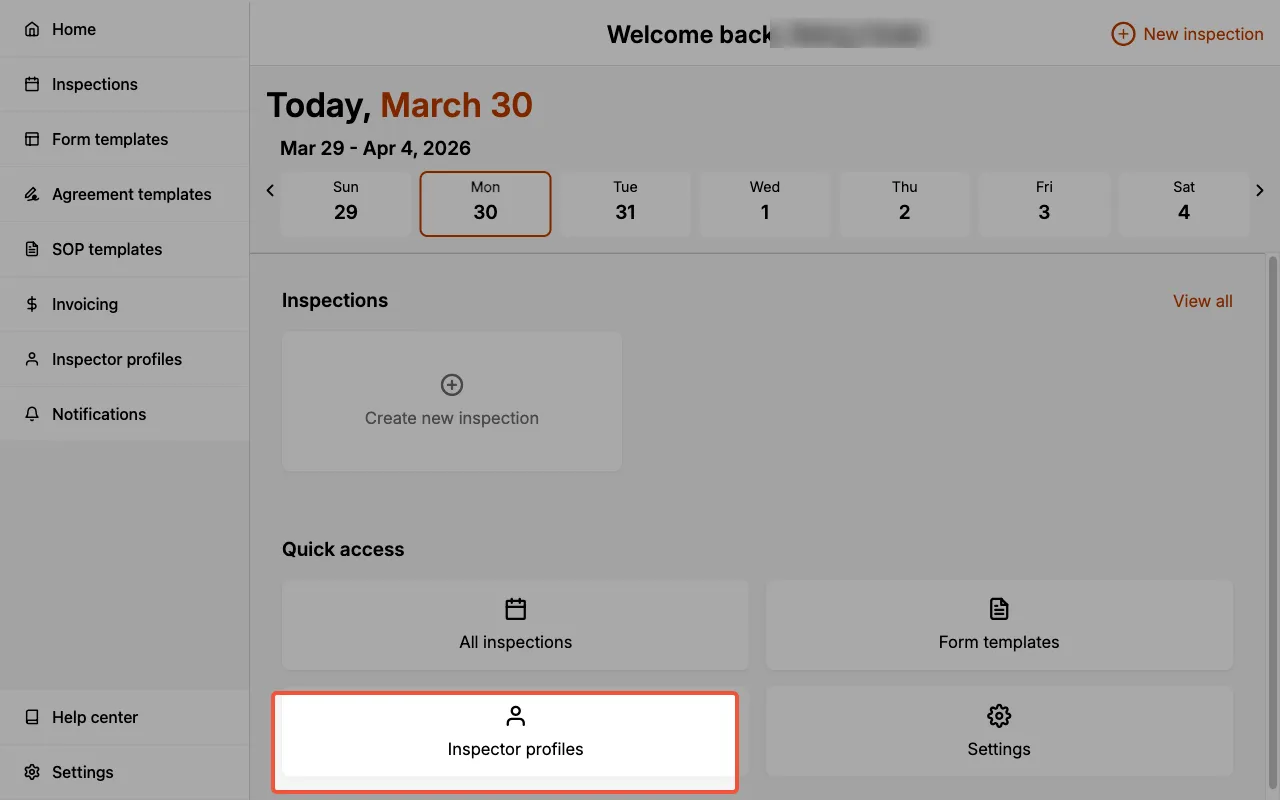
-
Select
Create new profile -
Enter the relevant details:
- Profile name (required)
- For you to identify what profile this is. Does not show up on reports.
- Primary inspector (required)
- Auto-populated based on your Eneris account details.
- Business name
- Website
- Phone number
- Business address
- Toggle to
Enabledto enter a business address.
- Toggle to
- Tax ID
- Toggle to
Enabledto print a tax registration on your invoices. See Business tax ID.
- Toggle to
- Business logo
- Inspector portrait
- An image of yourself.
- Professional associations
- If you belong to any professional associations you may enter them here. Include your member/certification number, as desired.
- Cover letter
- A short letter that opens your PDF and web reports. See Cover letter.
- Inspector signature
- A digital signature captured via the built-in signature pad. Once captured, choose which documents it appears on. See Inspector signature placement.
- Profile name (required)
-
Select
Create profileat the bottom of the page
Your Inspector Profile is now available to assign to inspections.
Duplicating an Inspector Profile
If you are setting up similar profiles (e.g., the same business details for multiple inspectors on your team), you can duplicate an existing profile instead of entering everything again.
-
Navigate to the home page
-
Select
Inspector profiles -
Select
Create new profile -
Select
Duplicate existingat the top of the page -
Under Select profile to duplicate, choose the source profile
-
Update the Profile name, as desired
- The name is pre-filled as
[Duplicate] <source profile name>.
- The name is pre-filled as
-
Select the Primary inspector for the new profile
-
Select
Create profileat the bottom of the page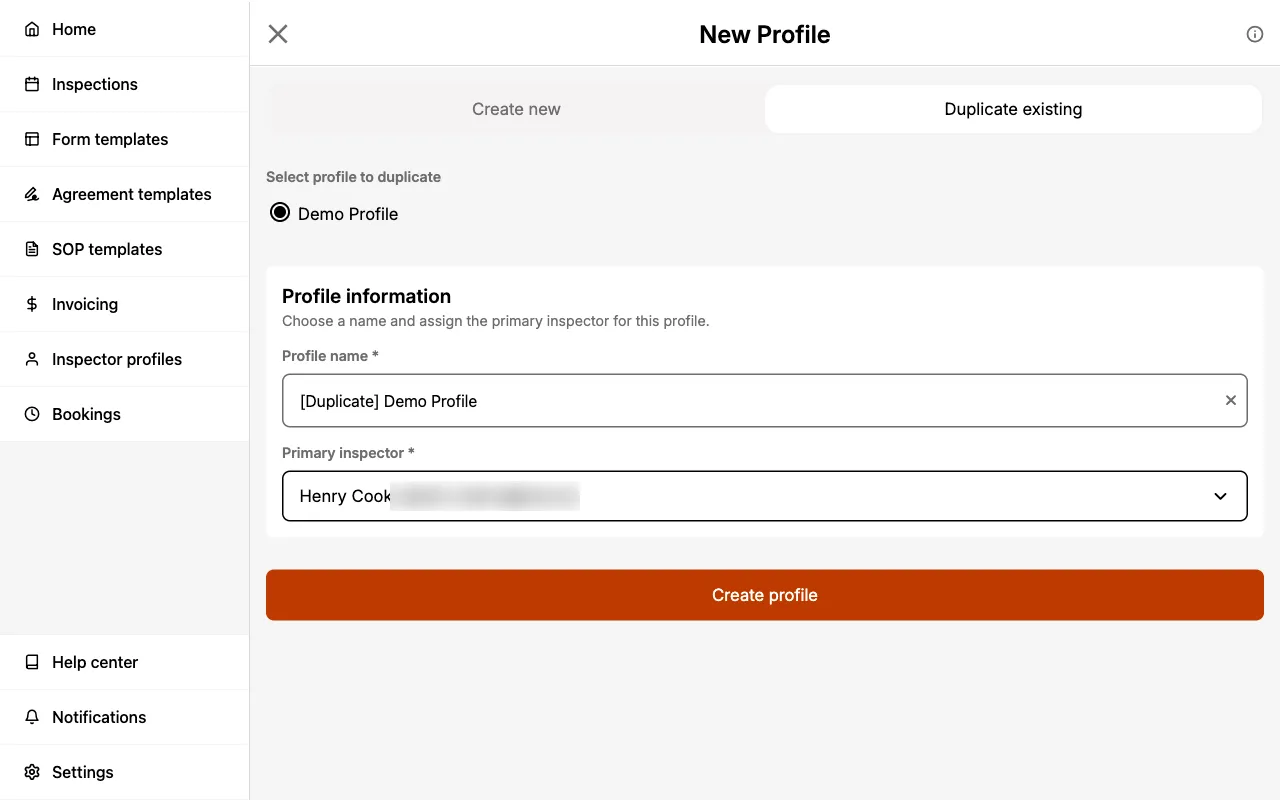
The business details (name, address, tax ID, website, phone, logo, portrait, and associations), the cover letter, and the inspector signature along with its placement settings are all copied from the source profile. Only the Profile name and Primary inspector are set manually.
Cover letter
A Cover letter is a short, personal note that opens your report. It's a good place to thank the client for their business, point them to the parts of the report that matter most, and tell them how to reach you with questions.
The letter belongs to the profile, not to an individual inspection, so it is written once and then appears on every report that uses that profile. This means a profile for a second business, or for a different inspector on your team, can carry its own wording and contact details.
To add a cover letter:
- Navigate to the home page
- Select
Inspector profiles - Select the profile you want to edit
- Scroll to the Cover letter section
- Write your letter in the Letter body field
- Select
Save
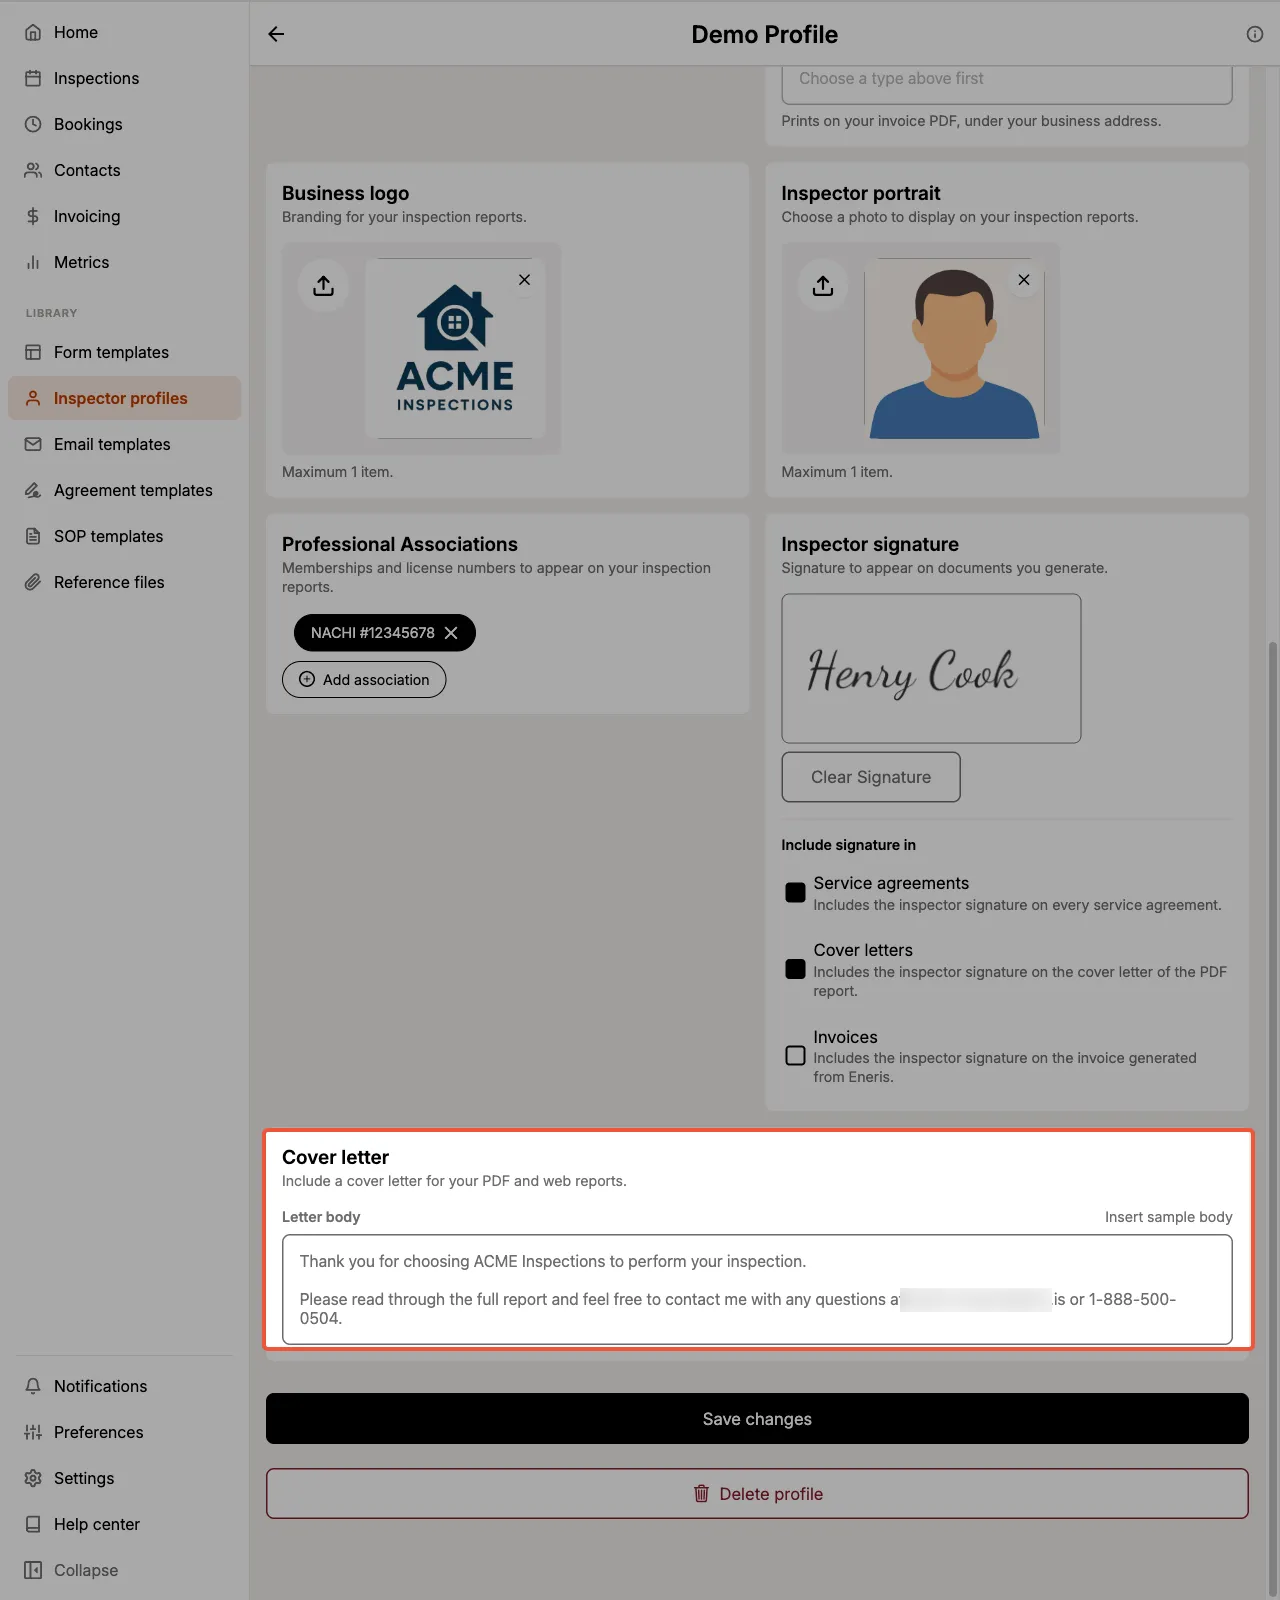
If you'd rather start from something than from a blank field, select Insert sample body. Eneris fills the field with a short template already populated with your business name, email, and phone number, which you can then edit freely. The button is only available while the field is empty, so it can never overwrite a letter you've already written.
The letter body is limited to 2,000 characters.
The cover letter appears on both the PDF report and the Web report. If you leave the field empty, no cover letter section is generated at all.
To show the latest cover letter in an existing report, republish the report.
Business tax ID
If you're required to show a tax registration number on your invoices, add it to the profile and Eneris prints it on every invoice PDF generated with that profile, directly under your business address.
To add a tax ID:
- Open the profile you want to edit
- Scroll to the Business address & tax ID section
- Set Tax ID to
Enabled - Choose a Tax ID type:
- GST/HST number (Canada) — prints as
GST/HST No. <number> - EIN (US) — prints as
EIN <number> - Other — prints the label you provide, followed by the number
- GST/HST number (Canada) — prints as
- If you chose Other, enter a Tax ID label (for example,
Business Number) - Enter your Tax ID number
- Select
Save
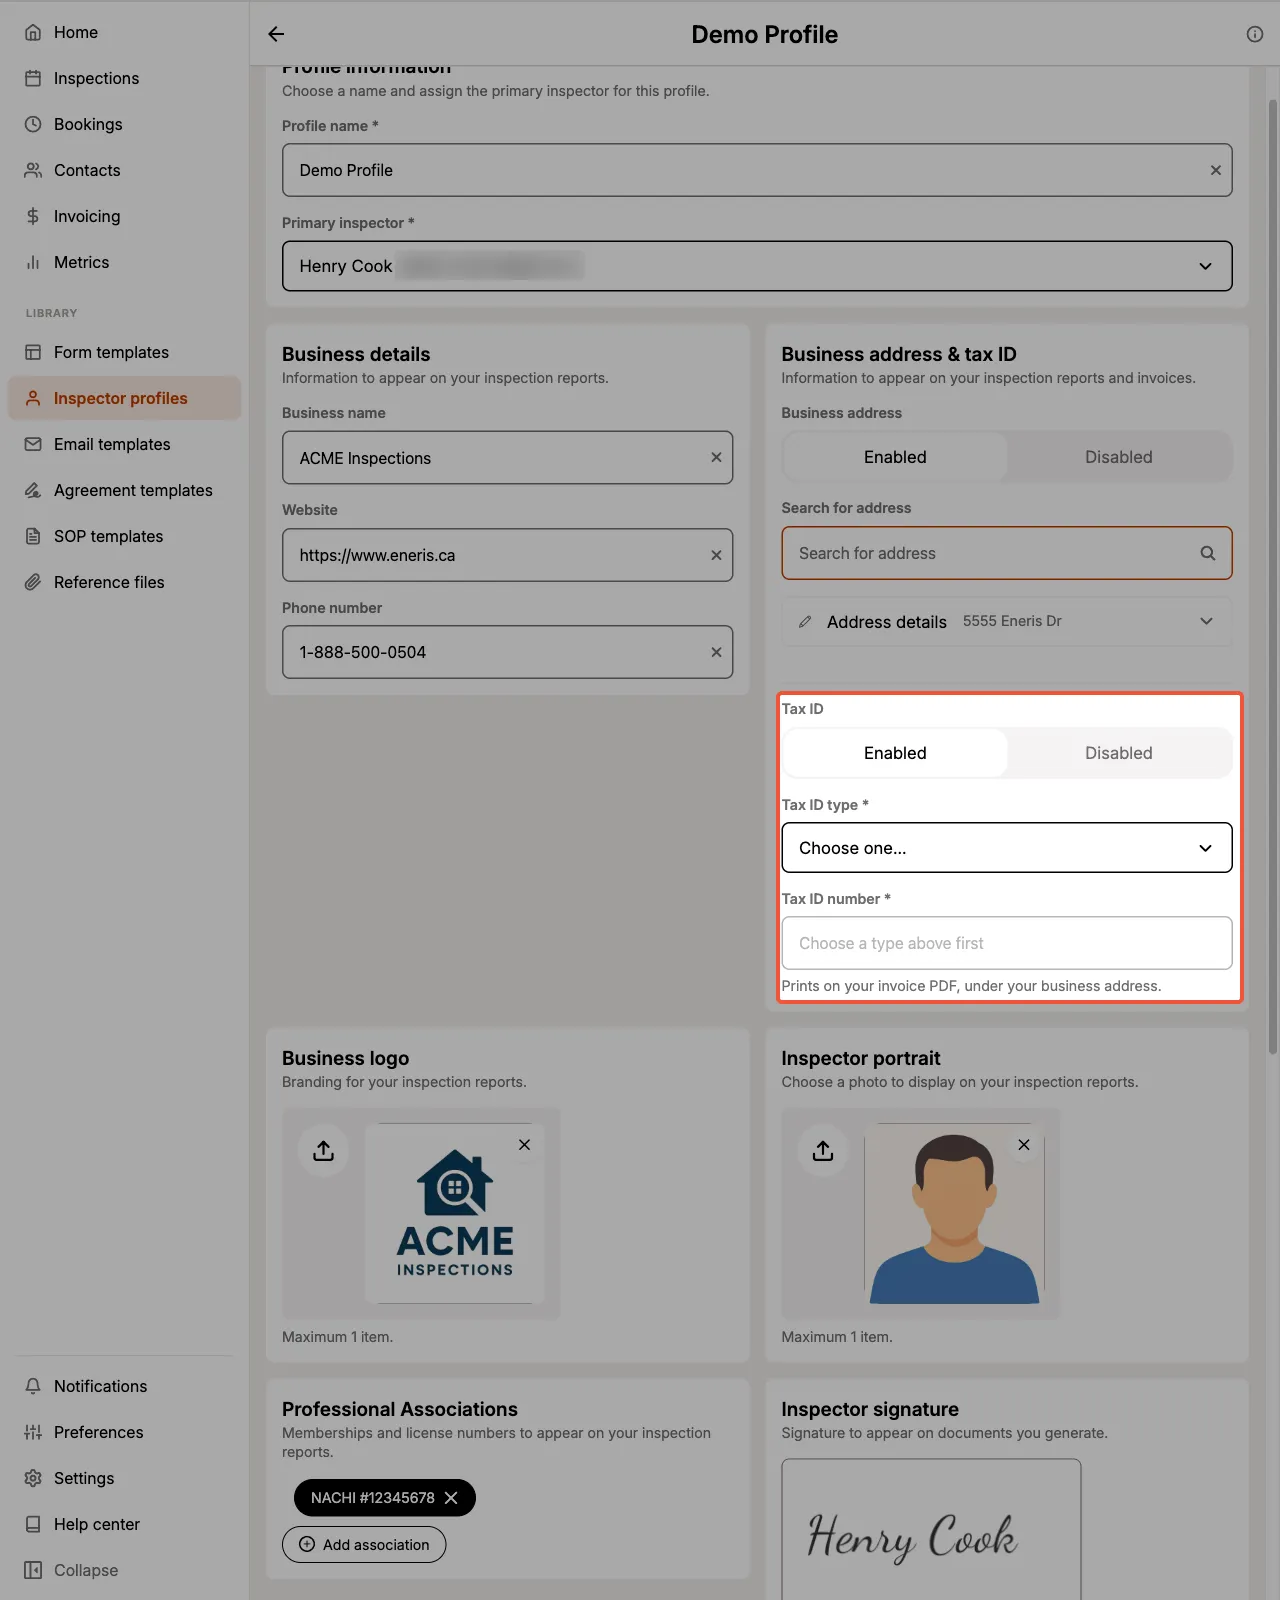
The tax ID prints on invoices only. It does not appear on reports or service agreements. Leave Tax ID set to Disabled if you don't need one, and nothing is printed.
Inspector signature placement
Your Inspector signature can be stamped on several different documents, and you control which ones. This matters because the signature that belongs on a service agreement is not always one you want reproduced on an invoice.
Once you've captured a signature, an Include signature in checklist appears beneath the signature pad with three options:
- Service agreements — includes the inspector signature on every service agreement
- Cover letters — includes the inspector signature on the cover letter of the PDF report
- Invoices — includes the inspector signature on the invoice generated from Eneris
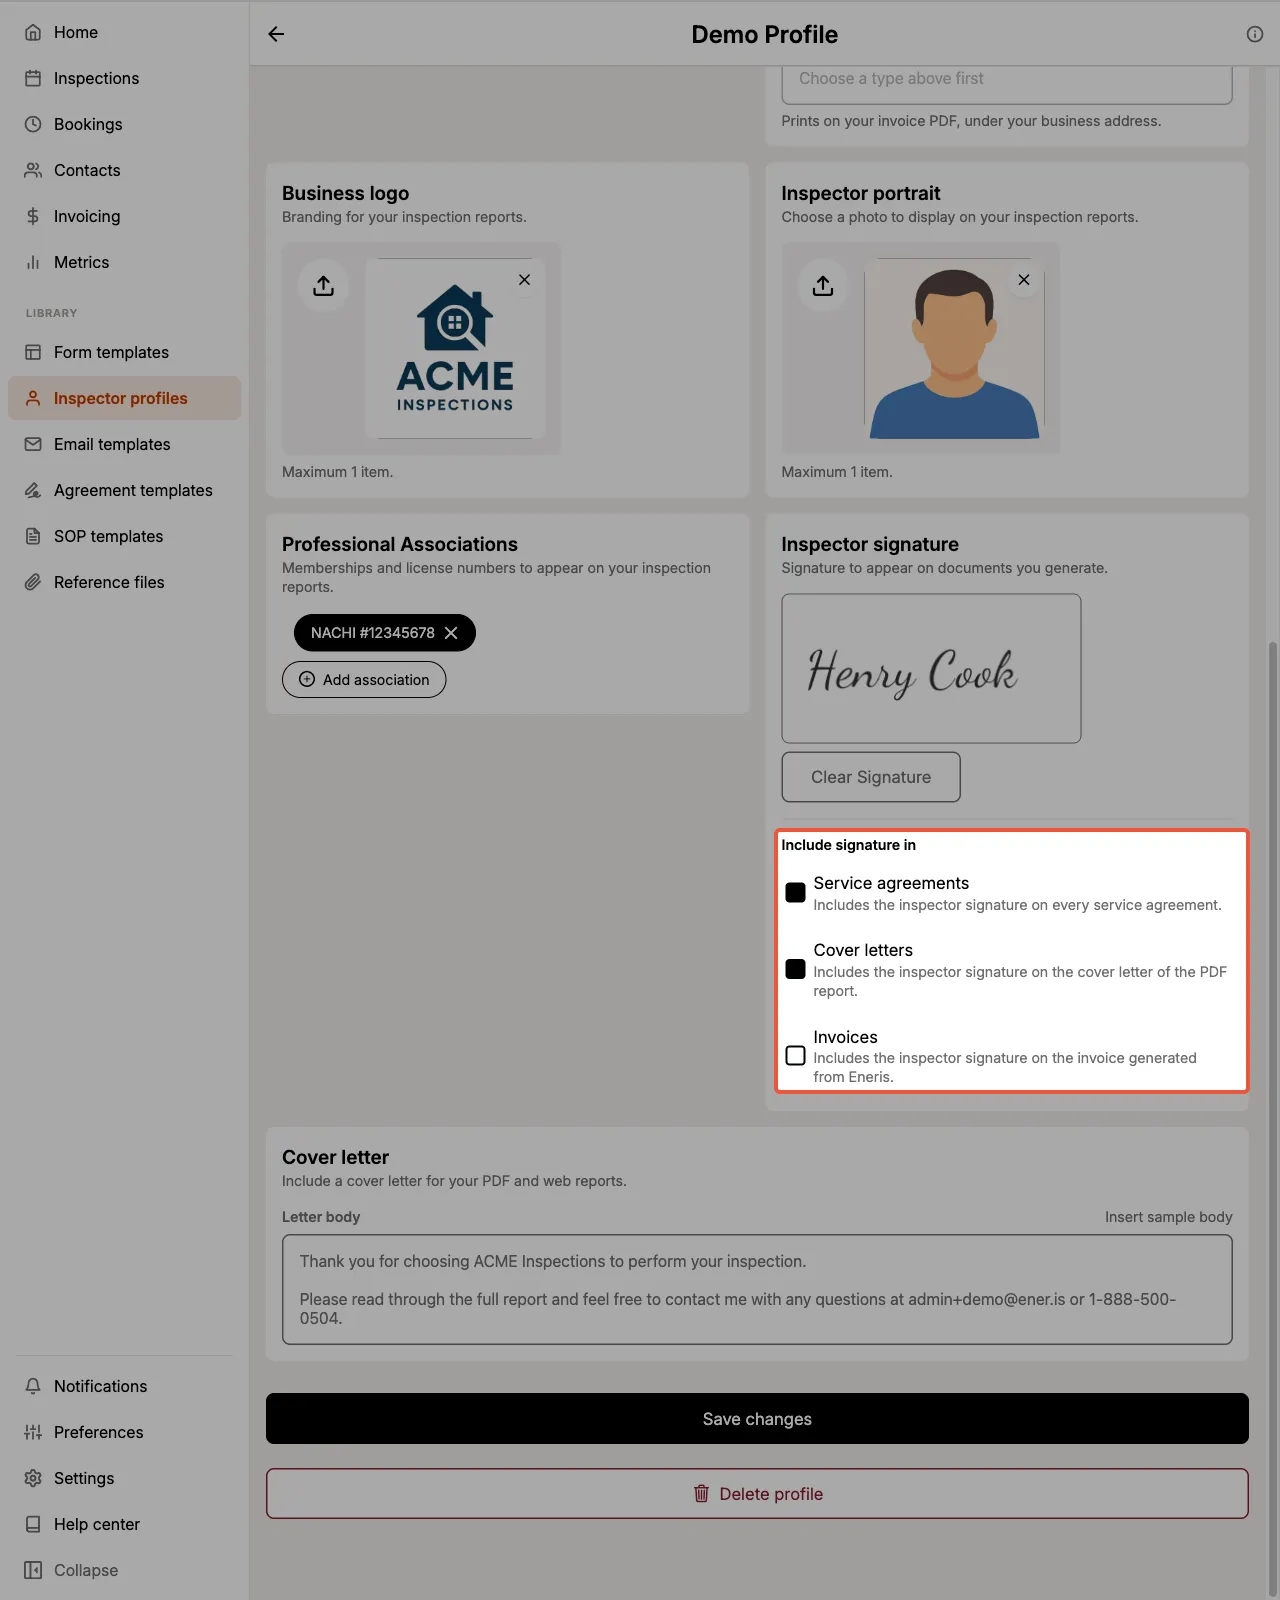
New and existing profiles start with Service agreements and Cover letters selected, and Invoices cleared. These defaults match how Eneris behaved before the setting existed, so your current documents keep signing exactly as they did.
The checklist only appears after a signature has been captured. If a profile has no signature on file, there is nothing to place, and the options stay hidden.
Selecting an Inspector Profile
To apply an Inspector Profile to an inspection:
- Begin creating an Inspection
- Navigate to the
Configurationsection - Select the Inspector
Profiledropdown menu and choose the desired profile
Updating the Inspector Profile for existing Inspections
You may also update the Inspector Profile for existing Inspections:
-
Select the relevant Inspection
-
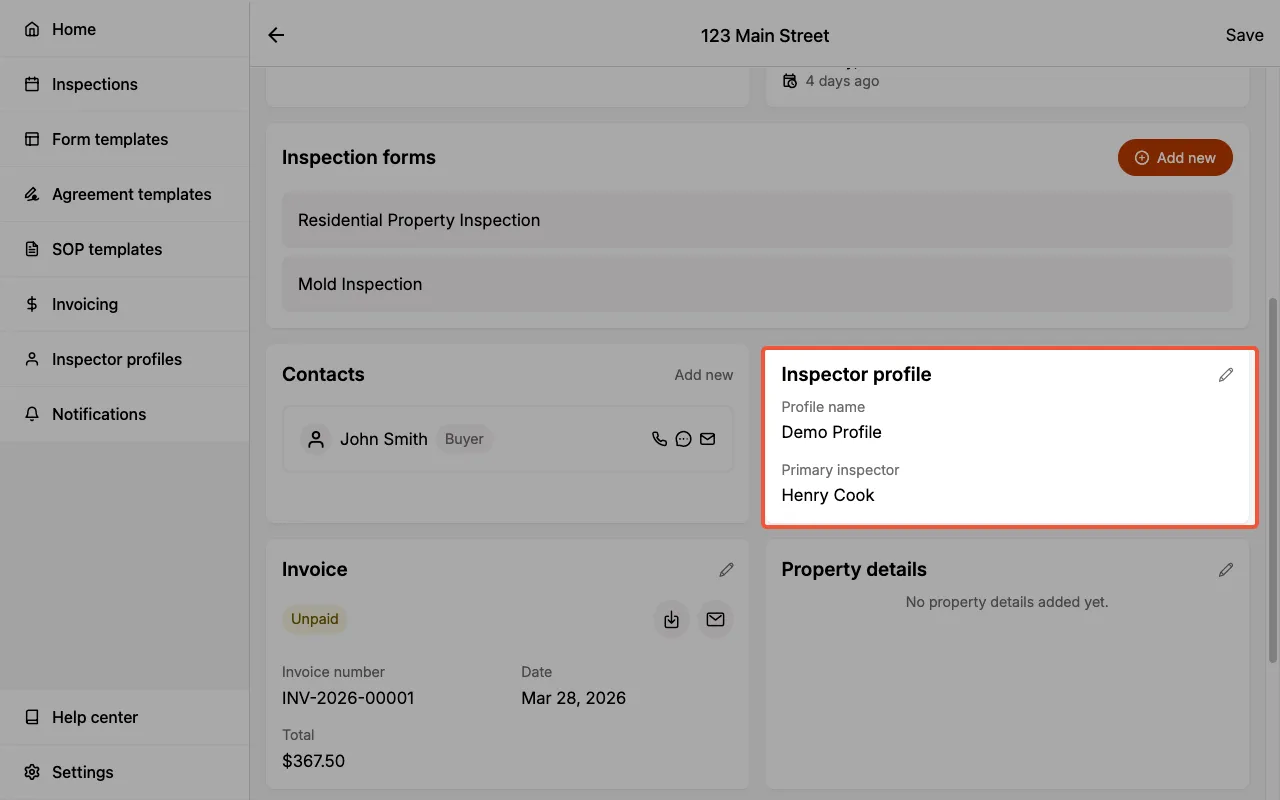
Navigate to the
Inspector Profilesection -
Select the edit icon
-
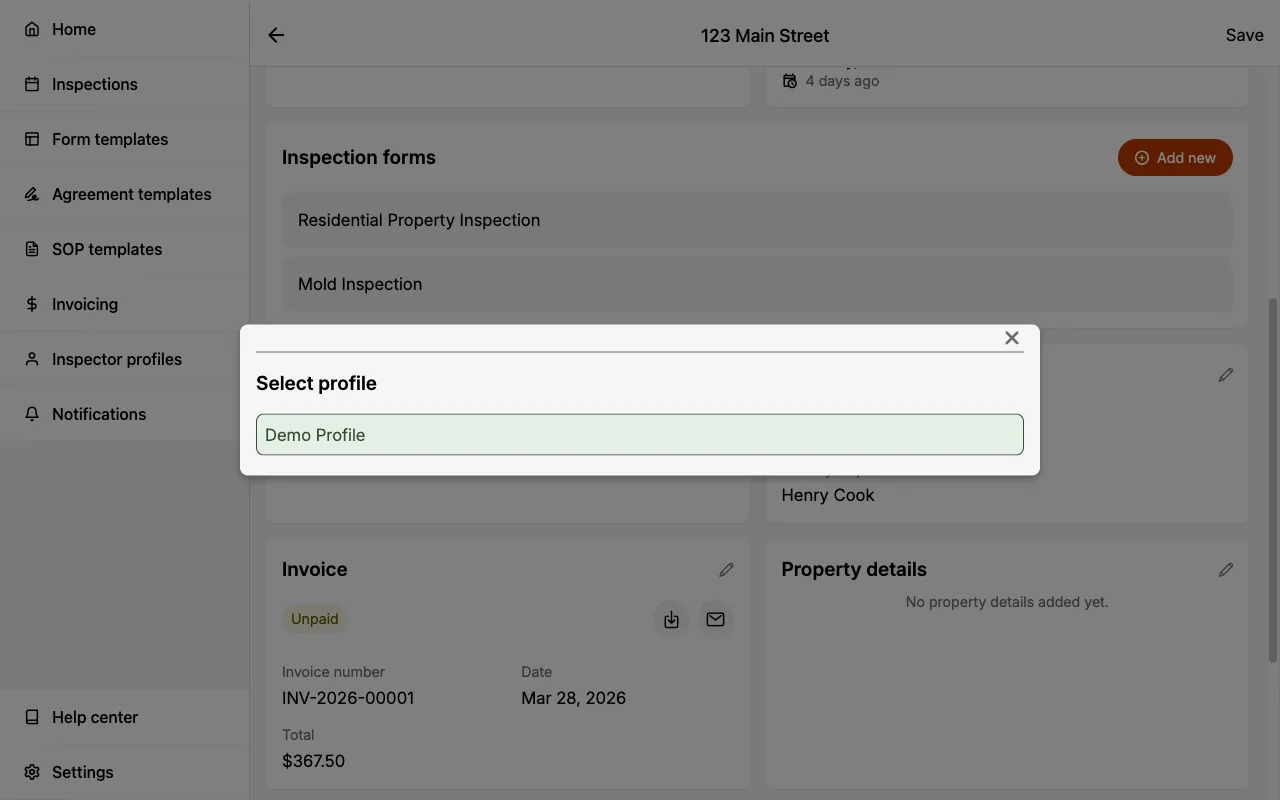
Choose the desired profile
To show the latest Inspector Profile changes in your reports, you must republish the report.
The selected profile's information will appear on the PDF report's cover page — ensuring it reflects the correct credentials or business branding.