Invoicing and Pricing Items
Invoicing in Eneris allows you to create professional invoices for your inspection services directly from within an Inspection. Combined with Pricing Items, you can build a reusable library of your common services and fees, making invoice creation fast and consistent.
The invoicing workflow is simple:
- Set up your Pricing Items once (your service catalog)
- Create an Invoice from any inspection
- Add line items from your pricing library or create custom items
- Share the invoice via email or download as PDF
- Track payment status
Pricing Items are reusable across all your invoices. Set them up once and add them to any invoice with a single click.
Pricing Items
What are Pricing Items?
Pricing Items are reusable service entries that you can quickly add to invoices. Each pricing item includes:
- Name — A description of the service (e.g., "Home Inspection - Standard")
- Price per unit — The price per unit
- Tax Rate — The applicable tax percentage
By maintaining a library of pricing items, you ensure consistent pricing across all your invoices and save time during invoice creation.
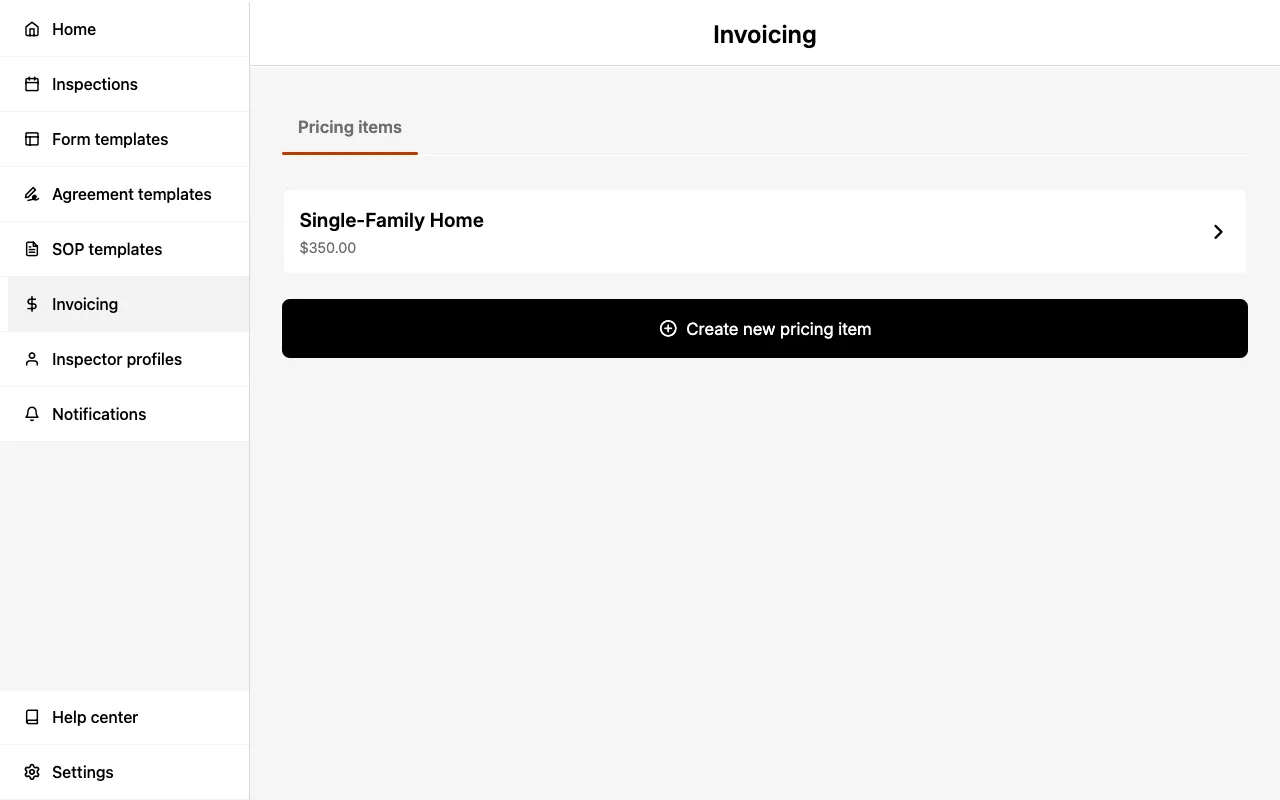
View Pricing Items
To view your existing Pricing Items:
- Select
Invoicingfrom the navigation menu.
You will see a list of all your saved pricing items with their names and prices.
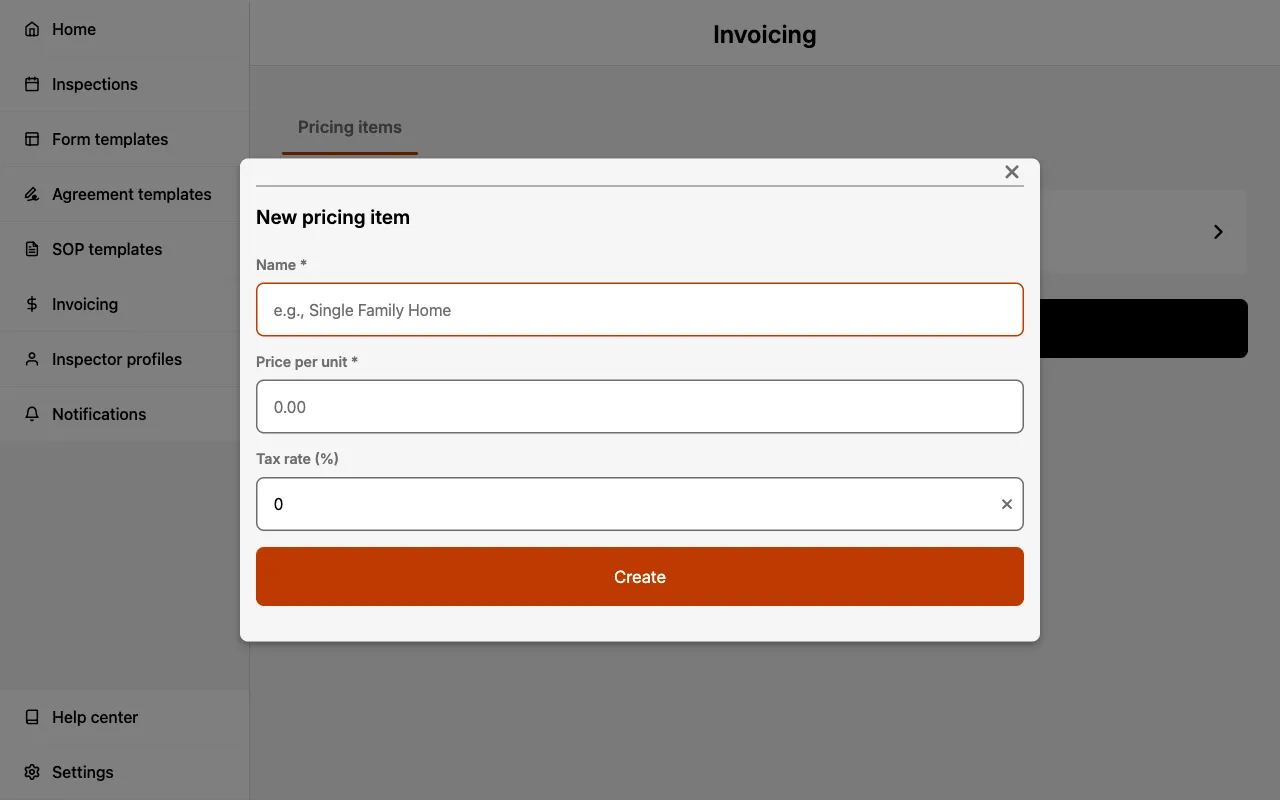
Create a Pricing Item
To create a new Pricing Item:
- Select
Invoicingfrom the navigation menu. - Select
Create new pricing item. - Enter a Name for the item (e.g., "Radon Testing").
- Enter the Price per unit.
- Optionally, set a Tax rate percentage.
- Select
Create.
Create pricing items for all your common services before you start invoicing. This makes creating invoices much faster.
Edit a Pricing Item
To modify an existing Pricing Item:
- Select
Invoicingfrom the navigation menu. - Select the item you wish to edit.
- Update the Name, Price per unit, and/or Tax rate as needed.
- Select
Save changes.
Changes to a Pricing Item only affect new invoices. Existing invoices retain the pricing that was set when they were created.
Delete a Pricing Item
To delete a Pricing Item:
- Select
Invoicingfrom the navigation menu. - Select the item you wish to delete.
- Scroll to the bottom and select
Delete pricing item. - Confirm the deletion when prompted.
Deleting a Pricing Item cannot be undone. Existing invoices using this item will retain their line item data.
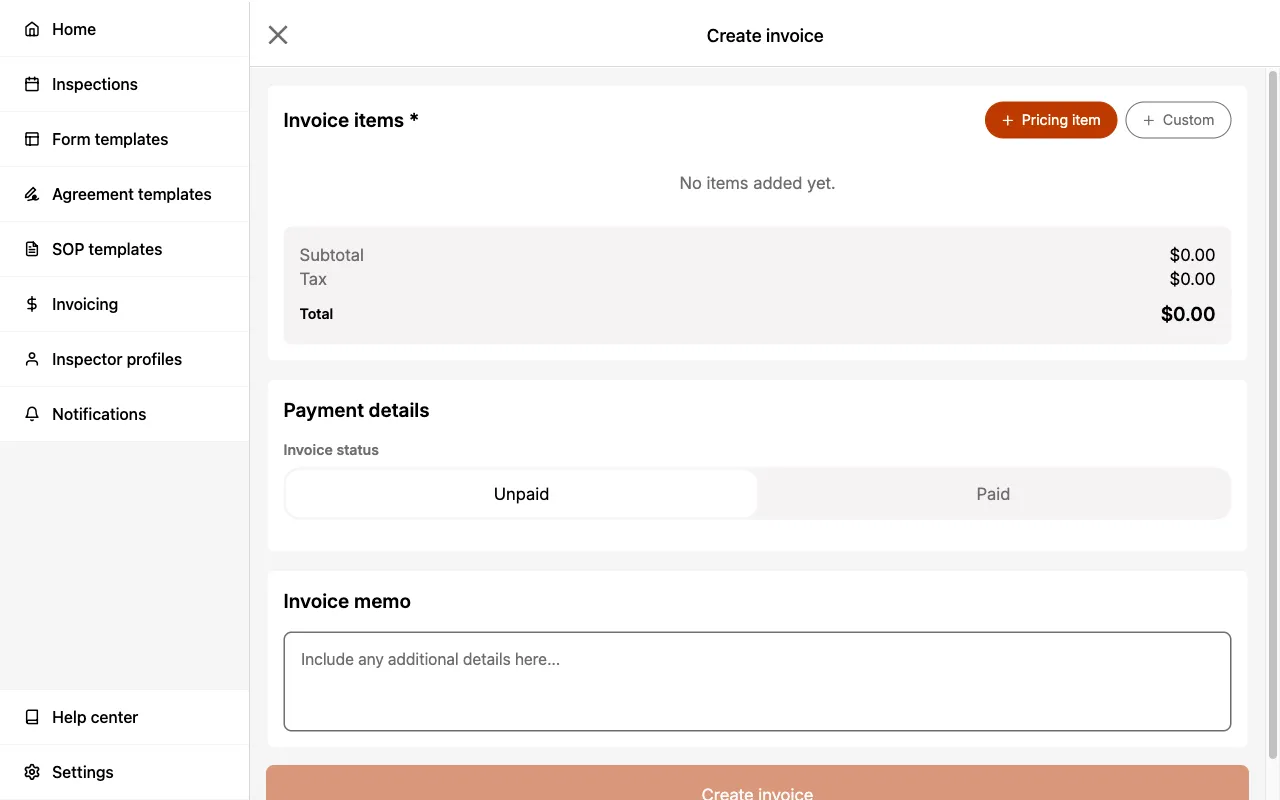
Creating an Invoice
Create Invoice from Inspection
Invoices are created within an Inspection. To create an invoice:
- Open the Inspection you want to invoice.
- Select the Invoice section.
- Add line items.
- Optionally, add a Memo for additional notes.
- Select
Create invoice.
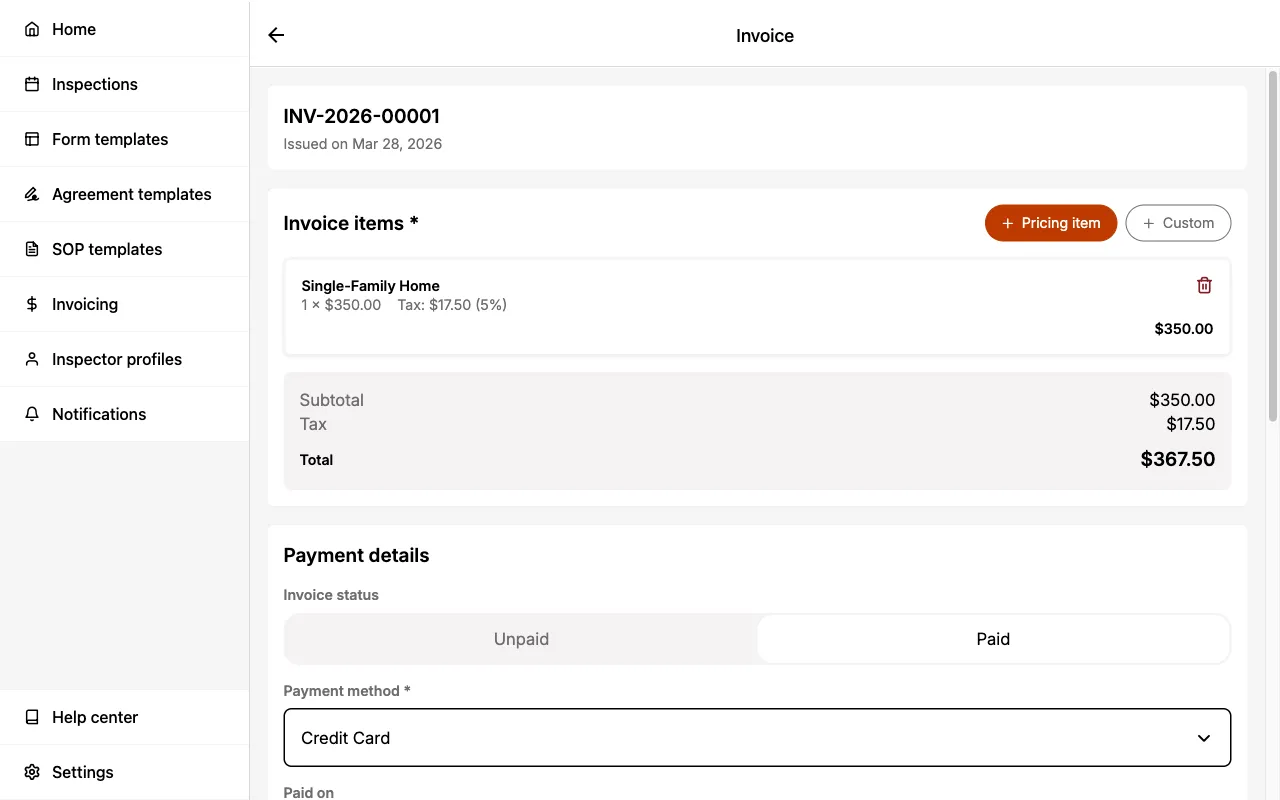
The system automatically generates an invoice number in the format INV-YYYY-NNNNN (e.g., INV-2026-00001).
Adding Line Items
You can add line items to your invoice in two ways:
From Pricing Library:
- Select
+ Pricing item. - Choose one or more items from your pricing library.
- Adjust the quantity if needed.
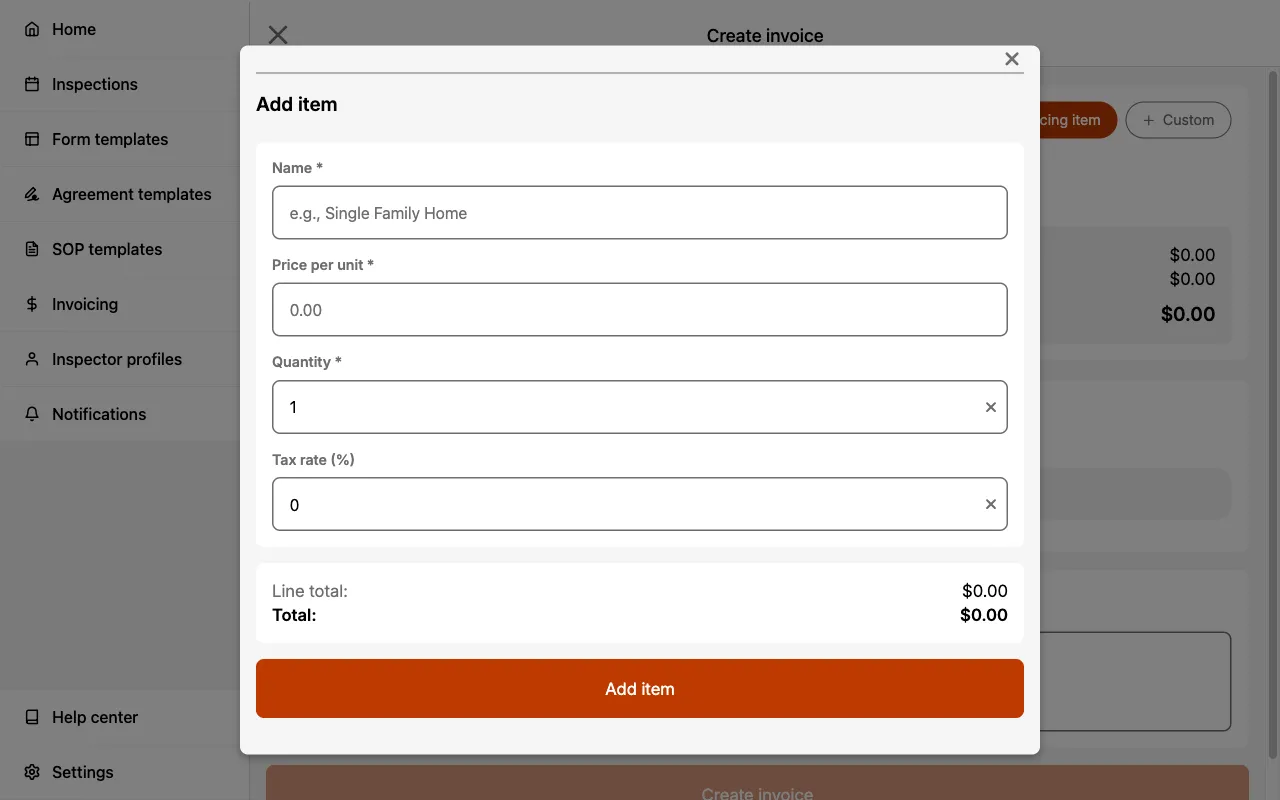
Custom Item:
- Select
+ Custom. - Enter the item Name.
- Enter the Price per unit.
- Set the Quantity.
- Optionally, set a Tax rate.
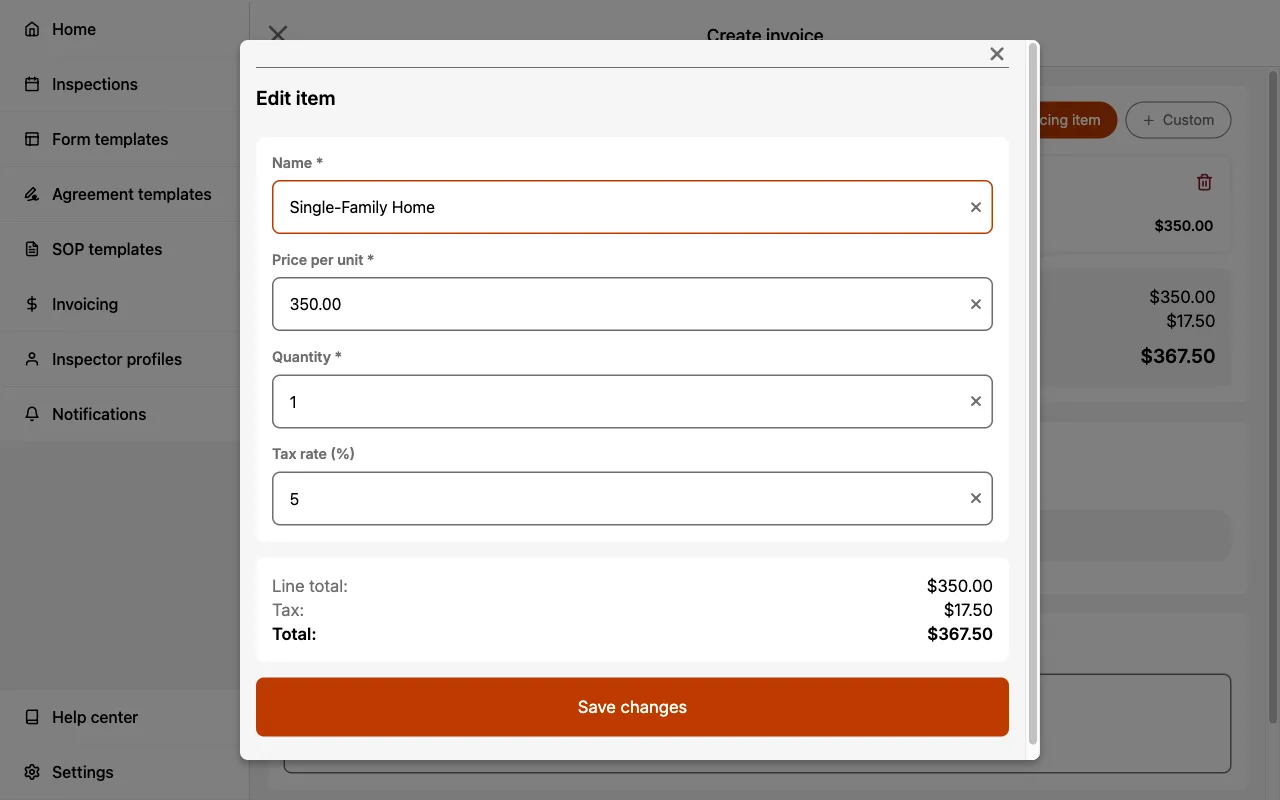
Adjusting Pricing Item Quantity
When creating an Inspection invoice you can update the quantity of a line item. To update the quantity:
- Select the pricing item you added.
- Update the
Quantity. - Select
Save changes.
Automatic Calculations
Eneris automatically calculates all invoice totals:
- Line Total — Price per unit × quantity for each item
- Line Tax — Line total × tax rate for each item
- Subtotal — Sum of all line totals
- Tax — Sum of all line taxes
- Total — Subtotal + tax total
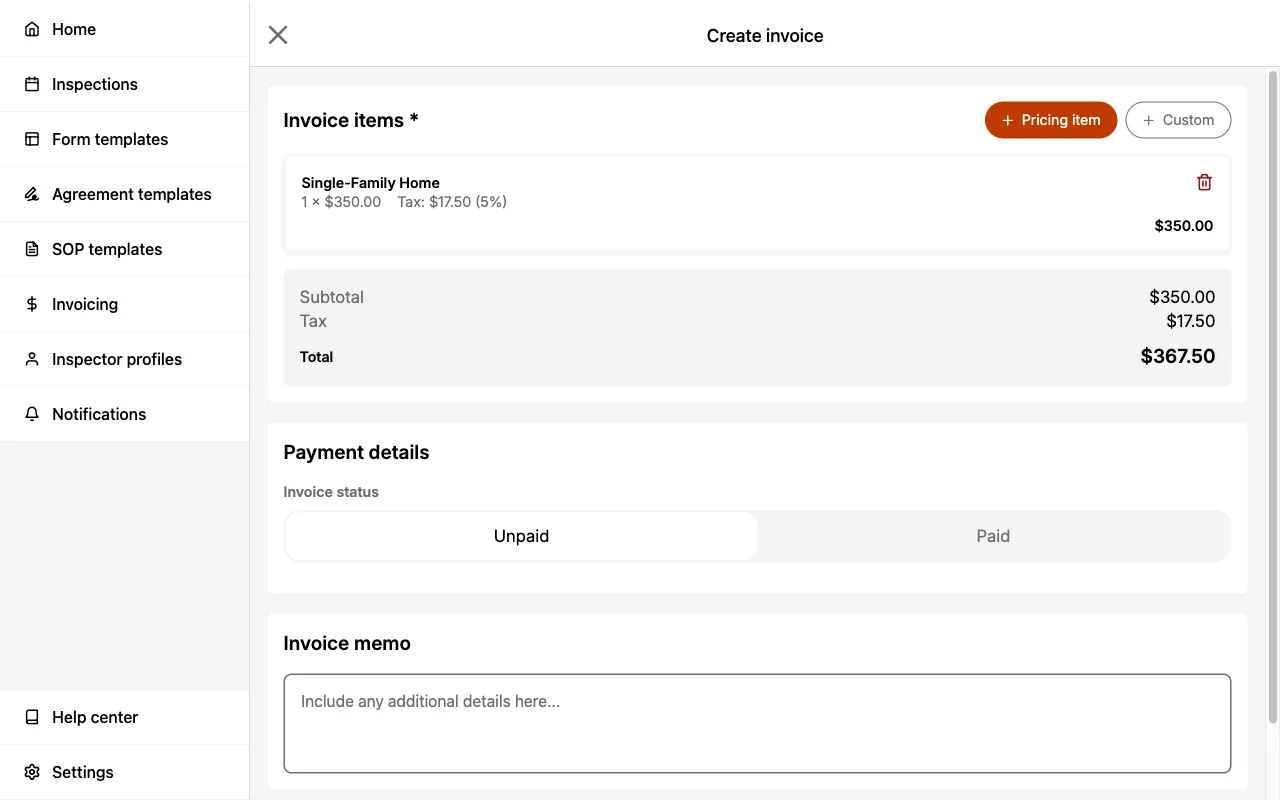
All calculations update in real-time as you add or modify line items.
Payment Tracking
Invoice Status
Each invoice has a payment status:
- Unpaid — Invoice has been created but payment has not been recorded
- Paid — Payment has been recorded for this invoice
The status is displayed as a badge on the invoice, making it easy to track outstanding payments.
Recording Payment
To record a payment on an invoice:
- Open the invoice.
- Change the Invoice Status to Paid.
- Select a Payment Method:
- Cash
- Check
- Debit Card
- Credit Card
- Bank Transfer
- Peer-to-Peer
- Other (enter a custom description)
- Set the Paid Date.
- Select
Save changes.
Invoice Actions
Download PDF
To download an invoice as a PDF:
- Navigate into the Inspection.
- Locate the Invoice section.
- Select the Download PDF icon.
- Download the PDF on your device.
The PDF includes your business information, invoice details, line items with calculations, and any memo you added.
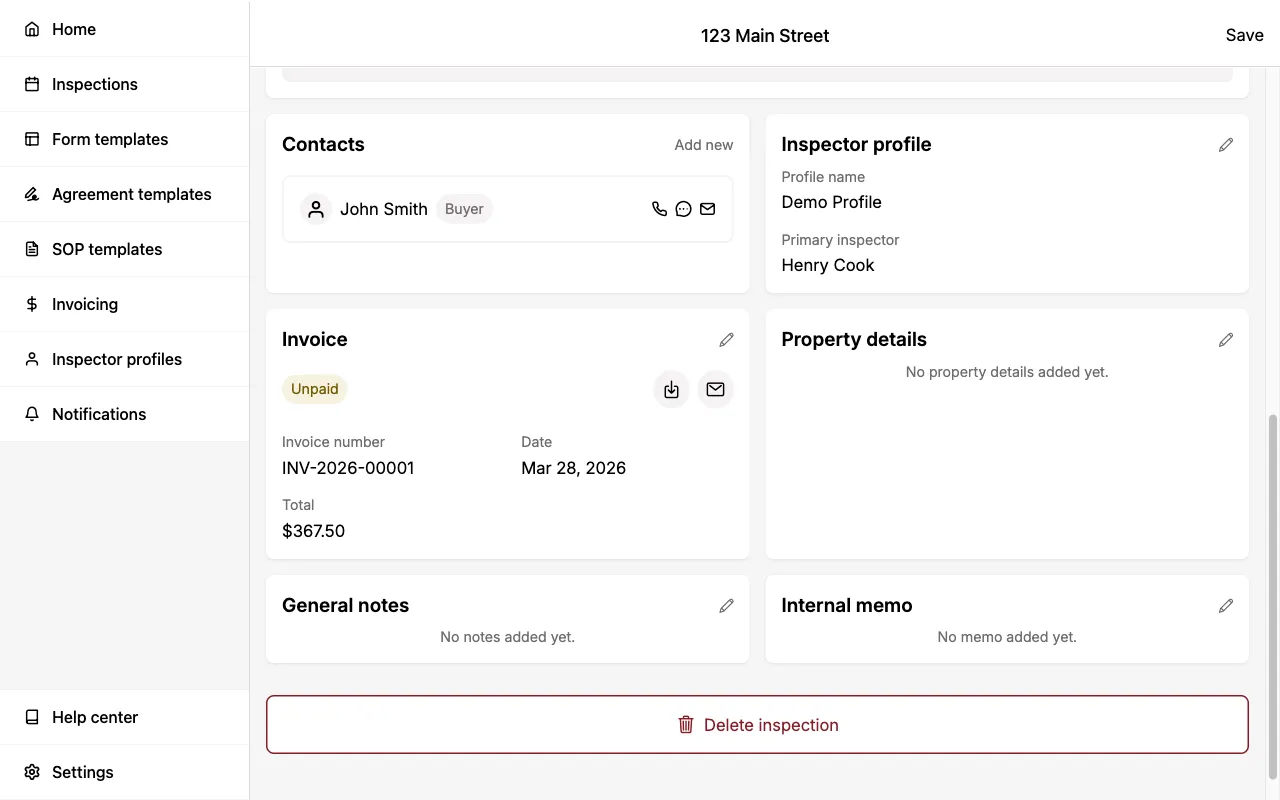
Share via Email
To share an invoice with your client via email:
- Navigate into the Inspection.
- Locate the Invoice section.
- Select the Email icon.
- The email recipients are auto-populated from the Inspection contacts.
- Optionally, select
Cc/Bccto add additional recipients. - Select
Send.
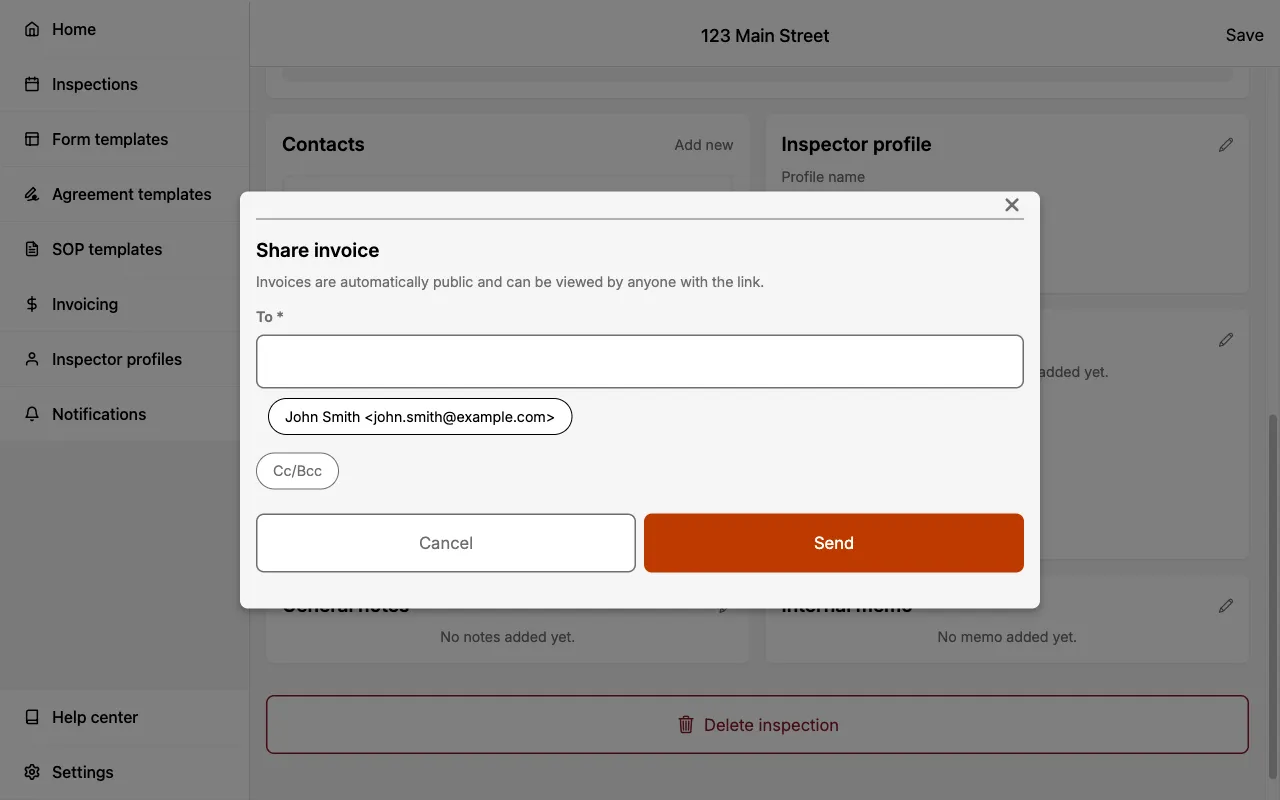
The email includes a link to view the invoice online, along with a PDF attachment.
Anyone with access to the public invoice link will be able to view the invoice. Only share invoice links with intended recipients.